Anti-Tip Furniture Straps for Renters: What to Buy and Check
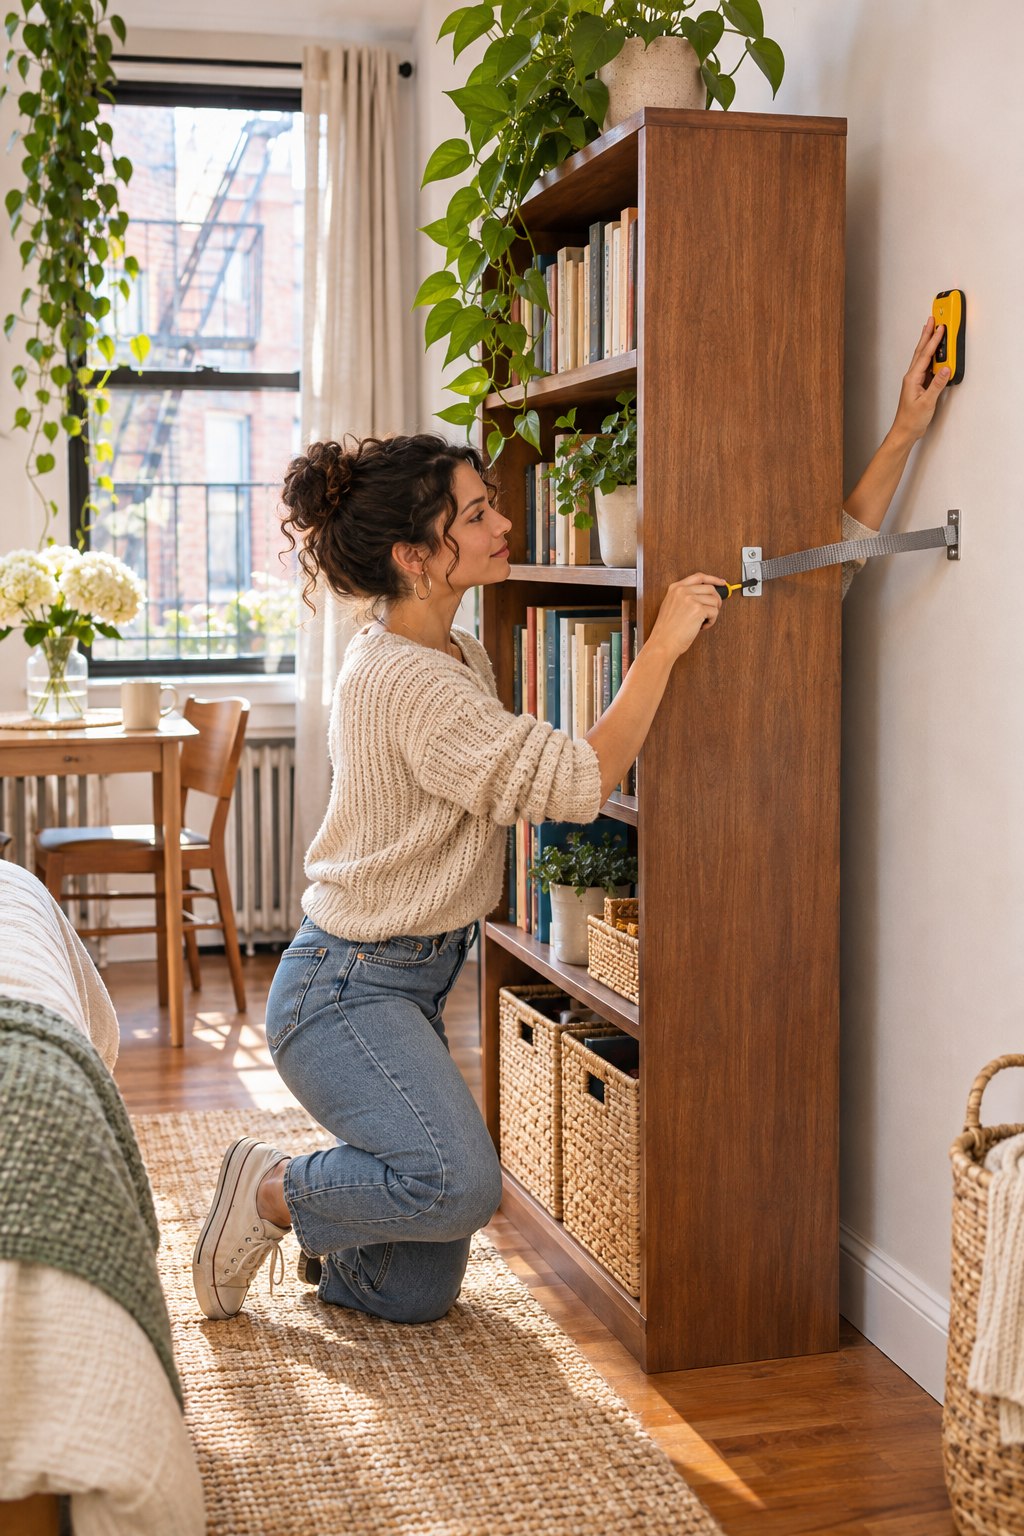
Anti tip furniture straps are worth comparing as safety hardware, not as a shortcut around your lease. The right choice must match the furniture, wall, instructions, and fasteners. Labels such as “no drill” or “heavy duty” do not answer every question.
For renters, the goal is to choose a compatible kit, check recalls, get required permission, and install it as directed. If a lease limits wall holes, ask about an approved installation rather than assuming adhesive hardware is an equal substitute.
This guide focuses on the buying and setup decisions that come before installation. For a broader room-by-room risk review, see our guide to keeping tall furniture and TVs safer in a small home.
Quick answer: what should a renter buy?
When choosing anti tip furniture straps, start with the restraint recommended by the furniture manufacturer. If the original kit is missing, ask the manufacturer for a replacement or for the specifications of a compatible kit. Then confirm the wall type, the furniture attachment point, the included hardware, and whether the product or model appears in the U.S. Consumer Product Safety Commission recall database.
Do not choose only by an advertised weight number. A complete kit should provide clear instructions for both sides of the connection: the bracket or plate on the furniture and the bracket on the wall. The CPSC’s Anchor It! campaign describes a basic sequence of attaching a bracket to the wall, attaching the other bracket or plate to the furniture or TV, connecting the strap, tightening it, and checking the completed installation.
Compare anti tip furniture straps before checkout
| Product type | What to verify | Renter trade-off | Reason to pause |
|---|---|---|---|
| Woven strap kit | Bracket material, strap connection, furniture attachment point, wall fasteners, and installation instructions | Often flexible behind furniture, but usually still requires secure attachment to the wall and furniture | The listing shows the strap but does not explain the brackets or compatible surfaces |
| Metal cable kit | Cable ends, bracket construction, included screws, adjustment method, and manufacturer compatibility | Compact hardware may fit behind a unit, but installation holes and access can still affect the lease | A high load claim appears without clear installation conditions or product instructions |
| Rigid bracket or interlocking system | Required clearance, exact mounting locations, wall construction, and whether furniture must be moved to release it | Can create a close wall connection, but alignment may be less forgiving in a tight apartment | The kit cannot be installed at the manufacturer’s specified attachment point |
| Adhesive or “no-drill” restraint | Intended use, surface list, preparation steps, cure time, removal method, and whether the maker identifies it as a tip restraint | Fewer holes may sound rental-friendly, but paint condition, finish, heat, humidity, and removal can affect the result | The product is marketed mainly by convenience and does not clearly state its safety use or limitations |
Check the exact product and current recall status
Before buying or installing anti tip furniture straps, identify the brand, model, materials, and seller. Marketplace listings can group several variations on one page, so the reviews or specifications you see may not describe the exact option in your cart. Save the product page, instructions, receipt, and a photo of the packaging until the restraint has been installed and checked.
This step matters because tip-restraint hardware can itself be recalled. On March 26, 2026, the CPSC announced a recall of 4our Kiddies plastic tip restraint kits because the plastic components could break or degrade. The agency said consumers should stop using the recalled restraints and obtain a replacement made of stainless steel. The recall covered about 253,500 units sold online and identified at least 150 reported breakage incidents, including three reported tip-over incidents.
That recall does not mean every plastic component is defective, but a familiar product shape is not proof of performance. Search the exact brand and model on the CPSC recall notice and broader database before installation, especially for an older kit.
Match the kit to both the furniture and the wall
Anti tip furniture straps connect two different structures, so compatibility has to work on both sides. First find the manufacturer-designated attachment point on the dresser, cabinet, bookcase, or other unit. Do not drive a screw into a thin back panel, decorative trim, or unknown hollow section just because it is easy to reach. If the manual is missing, request it from the manufacturer.
Then identify the wall construction. Wood studs, metal studs, masonry, plaster, and hollow drywall do not use one universal fastener. Use the hardware and method specified by the restraint and furniture manufacturers. If their instructions do not address your wall type, contact the manufacturer, property manager, or a qualified installer rather than improvising.
The same rule applies when shopping for new furniture. Our guide to choosing apartment storage furniture with safety in mind explains why a low center of gravity, sound construction, and practical placement matter before any accessory is added.
Treat lease permission and safety compatibility as separate checks
A landlord’s approval answers whether a modification is permitted. It does not certify that a particular restraint is compatible with the furniture or wall. Likewise, a manufacturer’s installation diagram does not override a lease rule. Renters need both questions resolved before drilling.
Before installing anti tip furniture straps, ask permission with the furniture type, wall location, product instructions, number and approximate size of holes, and move-out repair plan. A property manager may install the hardware, specify a fastener, or direct you to maintenance. Keep the written reply.
If the answer is no, do not silently substitute adhesive hardware for a required wall attachment. Ask the furniture maker what options are permitted for that model. While you wait, reduce exposure by moving climb-attracting objects off the top, keeping heavier belongings low, and relocating the item away from beds, seating, and busy paths. These steps are not a claim that an unanchored item has become safe; they are interim risk-reduction choices.
Plan the installation before moving the furniture
- Empty and inspect the unit. Remove loose objects, check for damage, tighten assembly hardware as directed, and confirm the intended attachment location.
- Read every instruction first. Compare the furniture manual, restraint instructions, and any written property approval before making holes.
- Confirm the wall location. Identify the correct structure and check for possible wiring or plumbing. Use a qualified installer when the construction is unclear.
- Attach both brackets or plates as directed. Do not swap screws or anchors merely because another fastener is available in a toolbox.
- Connect and tighten the restraint. Leave only the movement permitted by the manufacturer. Keep the connection accessible enough to inspect later.
- Check the completed setup. The Anchor It! guidance advises tugging on the straps after installation to confirm the connection is secure. Recheck it after moving the furniture, changing the load, or noticing looseness.
Keep the exit route clear while you work. Do not let a tall cabinet, shoe unit, or hall tree narrow the doorway or become a landing spot for bags that pull the unit off balance. If the piece is part of an entryway setup, use our small-apartment entryway storage guide to plan carry, shoe, pocket, and outgoing zones without crowding the door.
Buying signals that deserve more scrutiny
- “No drill” as the main safety claim: Check what the product is actually designed to restrain and which surfaces are listed.
- A large weight number with no test context: Look for instructions, attachment conditions, and a clearly identified model instead of comparing a number alone.
- One kit shown for every wall type: Different wall construction may require different fasteners or professional evaluation.
- Only lifestyle photos: A useful listing should show the complete hardware, dimensions, installation points, and instructions.
- Unclear seller or bundled variations: Make sure the item shipped is the same model and material described on the page you reviewed.
- Missing recall information: A seller does not need to display every agency notice, so run your own exact brand-and-model search.
Common renter mistakes and better alternatives
Buying anti tip furniture straps before checking the lease: Check permission and wall rules first. Assuming wall contact equals anchoring: Pushing furniture against a wall does not create a structural connection. Using a storage strip as a safety restraint: Hardware intended to hang a small object should not be repurposed.
Keeping the original kit but losing the instructions: Photograph or download the manual and store it with your household records. Skipping checks after a move: Hardware can loosen, furniture can be reassembled differently, and the new wall may require another method. Hiding the connection permanently: Plan enough access to inspect the brackets, strap, or cable instead of burying it behind packed storage.
A 15-minute pre-purchase checklist
- Find the furniture model and its current manual.
- Identify the manufacturer’s recommended restraint or attachment point.
- Read the lease section on drilling, alterations, and repair.
- Confirm the wall type or ask property maintenance.
- Compare the exact kit’s brackets, tether material, fasteners, and instructions.
- Search the brand and model in the CPSC recall database.
- Save the listing, receipt, manual, and written permission.
- Decide who will install, inspect, and remove or patch the hardware.
Frequently asked questions
Are anti tip furniture straps required for every bookcase or dresser?
Use the furniture manufacturer’s instructions and current CPSC guidance for the specific item. CPSC’s Anchor It! campaign urges consumers to anchor furniture with drawers, doors, and shelves to the wall. The exact hardware and installation method still depend on the product, wall, and instructions.
Can renters use no-drill anti-tip straps instead?
Do not assume that “no drill” means equivalent restraint performance. Check the product’s intended use, listed surfaces, instructions, and limitations, then compare them with the furniture manufacturer’s requirements. If wall attachment is required, ask the property manager for an approved installation.
How can I tell whether my furniture strap was recalled?
Find the brand, model, material, seller, purchase period, and photographs of the hardware, then search CPSC.gov. Compare all identifiers in the notice. If you cannot identify an older kit, contact the furniture or restraint manufacturer before relying on it.
Should I keep the strap when I move?
Keep reusable components only if the manufacturer permits reuse and they are not damaged, degraded, incomplete, or recalled. Wall fasteners may not be reusable, and a new wall type may need different hardware. Reinstall according to current instructions and recheck the completed connection.
Sources and fact-checking
This guide was fact-checked on November 9, 2026. Product compatibility, lease rules, and wall construction vary, so the furniture manual, restraint instructions, written property guidance, and qualified installation advice remain specific to your home.
- U.S. Consumer Product Safety Commission, Anchor It! — current anchoring sequence, post-installation strap check, and renter repair resources.
- CPSC recall 26-340, March 26, 2026 — recalled plastic restraints, reported breakage, affected sales period, and replacement remedy.