
Window Insulation Film Kit: 9 Checks for Renters Before You Buy
A window insulation film kit can be a sensible seasonal purchase for a drafty rental if the film fits the entire opening, the adhesive is compatible with your trim, and the covered window is not needed for escape or regular ventilation. Choose by measurements and surface instructions, not the number of windows pictured on the box. If you have damaged frames, persistent moisture, or uncertain permission to apply tape, resolve those questions with your property manager before buying.
This renter-first guide explains what to measure, which kit details matter, and when a different solution is more useful.
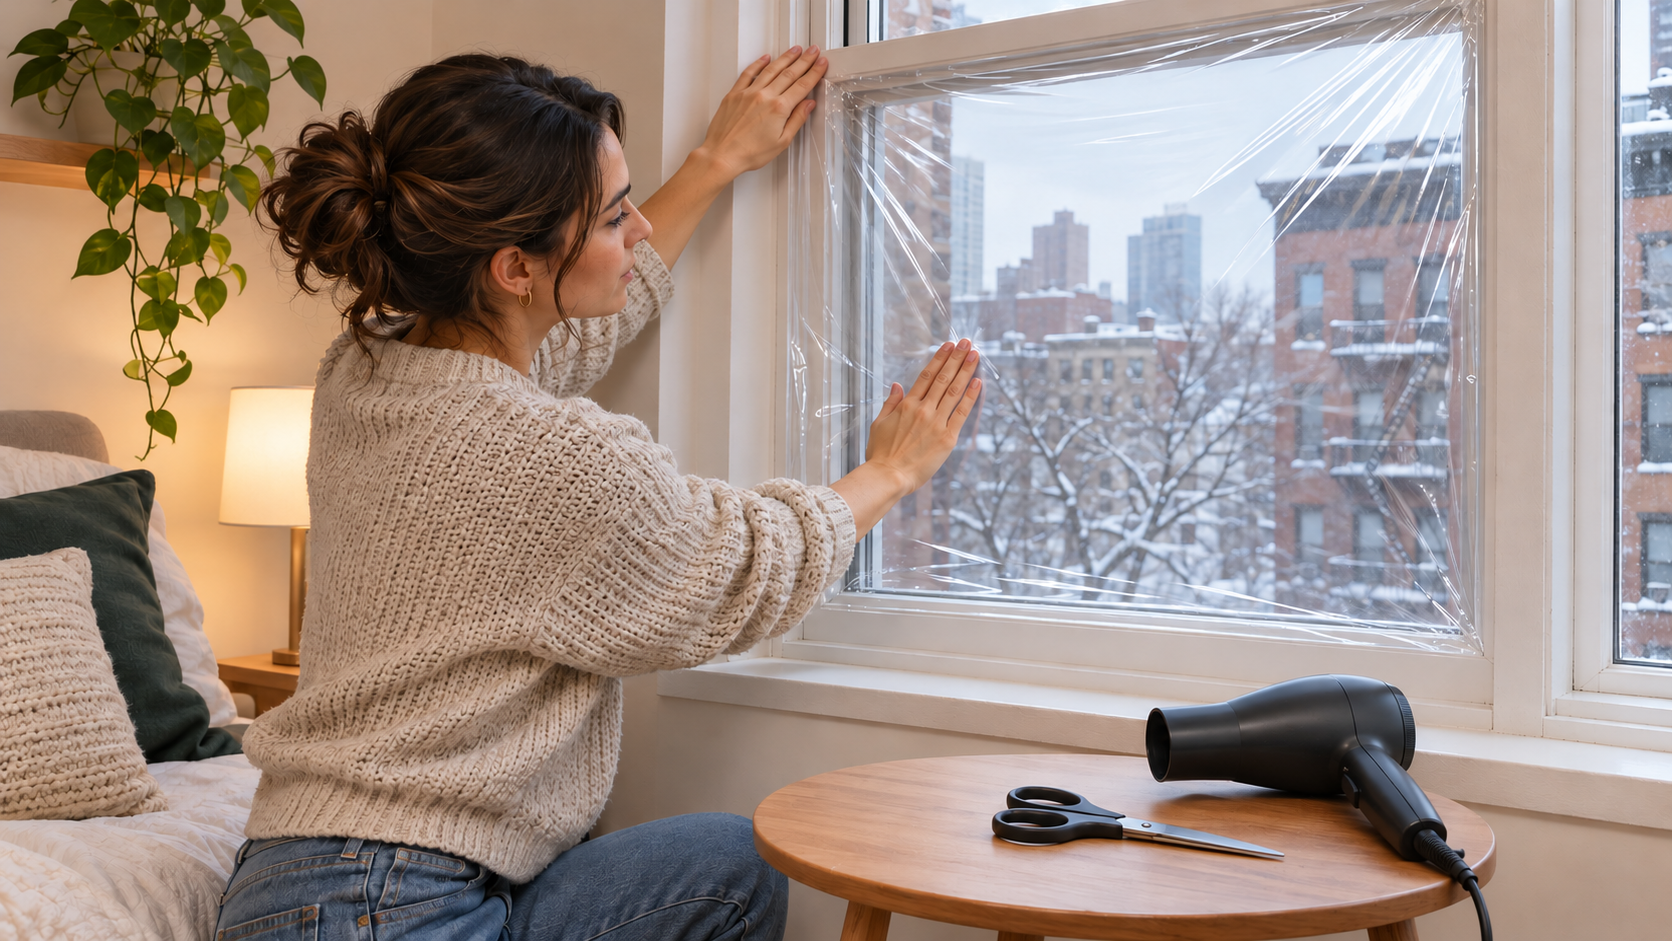
Check whether the problem is a draft, damaged trim, or something else
Before shopping, look closely at the window and note where discomfort occurs. Is air coming around the frame? Is the glass simply cold? Does the window close and latch normally? Photograph any visible damage or moisture so you can describe it accurately to maintenance.
ENERGY STAR describes temporary plastic window coverings as an inexpensive DIY option that can reduce drafts, help a home feel warmer, and add a layer of insulating air. That is not a promise of a particular temperature increase or utility-bill reduction in your apartment.
A seasonal film covering is also not a substitute for fixing a broken window, failed latch, or water entry. Send those problems to the property manager rather than hiding them behind new plastic.
Identify the right kind of window film
For this project, look for an indoor shrink-film insulation kit that attaches around the window opening with the supplied adhesive. The film spans the opening rather than serving as a decorative layer directly on the glass.
Do not confuse it with tinted solar-control film, decorative privacy film, or security film. Our window security film guide for renters addresses a different product and a different buying decision. A clear winter insulation kit should not be treated as a security upgrade.
Compare the product description with the installation instructions before checkout. A listing that says only “window film” does not tell you whether you are buying the product this guide describes.
Measure the attachment area, not just the glass
Measure the width and height of the area the film must cover, including the intended tape line. Record both dimensions for each window. Two windows that look similar may still need different cuts.
Then check the manufacturer’s required allowance. Duck’s standard-kit instructions say to add an extra 2 inches to the window’s dimensions to allow for shrinking. That is a product-specific instruction, not a universal cutting rule for every brand or kit.
ENERGY STAR likewise advises choosing a kit that fits the window width and leaving a few inches when sizing film. Follow the instructions supplied with the exact product you purchase when the allowances differ.
For a roll, sketch the cuts before assuming its total area will cover everything. Enough square footage does not help if the roll is too narrow for your widest opening.
Check trim condition, adhesive limits, and rental permission
Read the approved-surface list and removal instructions. Do not assume “temporary” means compatible with every painted, stained, textured, or aging finish. If the manufacturer excludes your surface, choose another approach.
Check your lease and ask the manager about adhesive on window trim when permission is unclear. Rules and finishes vary; there is no universal renter exemption for removable tape. Test the specified adhesive on a hidden area if the manufacturer allows it, and inspect the result before covering every window.
A small test cannot guarantee damage-free removal months later. Its purpose is to catch an obvious incompatibility before you commit. Photograph the existing finish and keep the package instructions for removal.
Keep escape routes and essential window access clear
The U.S. Fire Administration advises finding two ways out of every room and keeping doors and windows unblocked. Do not cover a window your household needs as an escape route or assume that tearing film later is an adequate plan.
Discuss uncertain windows with building management and your local fire department before installation. Also consider everyday access: a window you regularly open, a handle behind the proposed tape line, or blinds you cannot operate afterward may make a full-opening covering impractical.
Keep that decision separate from choosing a heater. If you are considering supplemental heat as well, review our bedroom space-heater buying and safety checks rather than treating draft film as permission to change heater placement.
Compare the window insulation film kit with the actual job
Use the table to compare options against your room, not to rank brands. The best purchase is the one that fits the attachment area and the way you use the window.
| Option | Consider it when | Check before buying | Main tradeoff |
|---|---|---|---|
| Pre-sized shrink-film sheets | Your openings fit the listed sheet dimensions. | Usable width, height, cutting allowance, and included tape. | The advertised window count may not match your windows. |
| Roll-format shrink film | You want to plan cuts for several different openings. | Roll width and a complete cutting layout. | Poor cut planning can leave unusable offcuts. |
| Another window treatment | Adhesive or seasonal loss of access is unsuitable. | Attachment method, permissions, clearance, and operating access. | It may address comfort differently rather than covering the opening. |
| Maintenance assessment | The window is damaged, will not latch, or has unresolved moisture. | Photographs and a clear description of the problem. | You need a repair decision before a cosmetic seasonal fix. |
Compare total supplies, not only the package price
Check whether the kit includes enough tape for your planned perimeter. Read the tool list too. Duck’s standard-kit instructions call for a hair dryer, scissors, and a tape measure.
Compare the cost of covering your actual windows, including any manufacturer-specified extra supplies, rather than comparing package prices alone. A smaller kit can be the better value when a larger roll mostly becomes leftover material.
Do not use a claimed percentage saving as your budget forecast. Comfort and energy results depend on the apartment and installation. Start with one suitable window if you want to evaluate the process before buying for the whole home.
Plan installation before peeling the tape liner
A practical installation sequence
- Read the exact box instructions. Confirm surfaces, allowances, tools, and any preparation requirements.
- Prepare the frame. ENERGY STAR and Duck both instruct you to clean it before applying the film. Follow the kit’s cleaning directions.
- Measure and cut. Include the specified allowance, and check the cut against your recorded dimensions.
- Apply tape and film as directed. Duck’s standard method attaches film at the top, sides, and bottom so all sides are sealed.
- Shrink and inspect. Use the hair dryer according to the product instructions, trim as directed, and check the fit around the perimeter.
Do not mix instructions from different kits just because their packaging looks similar. Keep the work area clear enough to handle the full sheet without catching it on furniture or clutter.
Decide what you will inspect and remove later
Check the finished covering for loose edges and confirm that the room’s planned access remains clear. If you notice moisture, lifting tape, or a worsening underlying window problem, reassess rather than adding more layers.
ENERGY STAR notes that plastic coverings may reduce moisture buildup from condensation; it does not establish that film fixes every moisture problem. Avoid treating that possible benefit as a reason to ignore water or damaged surfaces.
Keep the removal instructions somewhere accessible. Follow the product’s method instead of pulling tape quickly or improvising cleaners on the finish. If the draft is actually under the entry door, our apartment door draft-stopper guide is a more relevant next step than buying another window kit.
Frequently asked questions
Will an insulation kit damage painted trim?
Damage-free removal is not guaranteed for every finish. Check the manufacturer’s surface restrictions, get any needed rental permission, and test an allowed hidden area. Existing loose paint is a reason to pause and contact management.
Can I use it on a window I open every day?
A covering across the opening conflicts with regular access. Choose another approach if you need that window for daily use, and never compromise an escape route to keep the film intact.
Is thicker film always the better buy?
Not automatically. First compare fit, approved surfaces, included supplies, and installation requirements. A thicker product that does not fit your opening or attachment surface is not a better choice for that job.
How much will it save on heating?
This guide does not assign a dollar or percentage saving. ENERGY STAR supports draft reduction and improved winter comfort, but your result depends on conditions. Buy for a documented problem, not a guaranteed payback claim.
Sources and fact-checking
Fact-checked November 17, 2026. This is a buying and planning guide, not a hands-on product test. Installation details should always be checked against the instructions for your exact kit.
- ENERGY STAR: Applying Plastic Over Windows Project, for potential benefits, sizing, preparation, and installation overview.
- U.S. Fire Administration: Home Fire Escape Plans, for two ways out and unblocked doors and windows.
- Duck Brand: How to Install Standard Window Kits, for the manufacturer’s standard-kit cutting allowance and installation sequence.





댓글 0
첫 댓글을 남겨보세요.