How to Organize a Rental Kitchen Without Changing the Cabinets
Living in a rental or a small home doesn’t mean you have to put up with cluttered cabinets or chaotic counters. With a few renter-friendly tools, zone planning, and deliberate habits you can create a tidy, efficient kitchen that’s fully reversible when it’s time to move.
This guide walks you through a simple, step-by-step setup sequence you can complete in a weekend, explains realistic trade-offs, and ends with a concise move-out reversal checklist so you leave the space as you found it.
Start with a quick inventory and clear goals
Spend 30–60 minutes assessing what you actually use. Pull everything out of one cabinet or drawer and sort into: daily use, weekly use, rarely used, and trash/donate. Set two concrete goals for the session—examples: clear the main prep surface and create a dedicated coffee station.
Empty, measure, and plan zones
Measure cabinet interiors, shelf heights, drawer depths, and the space under the sink before buying anything. Plan functional zones: prep, cooking, baking, food storage, and cleaning. Aim to keep the heaviest items at waist level and frequently used tools where they’re easiest to reach.
Install reversible hardware and accessories
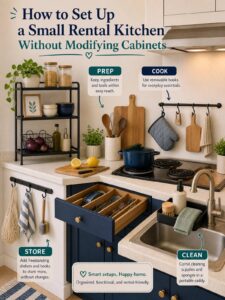
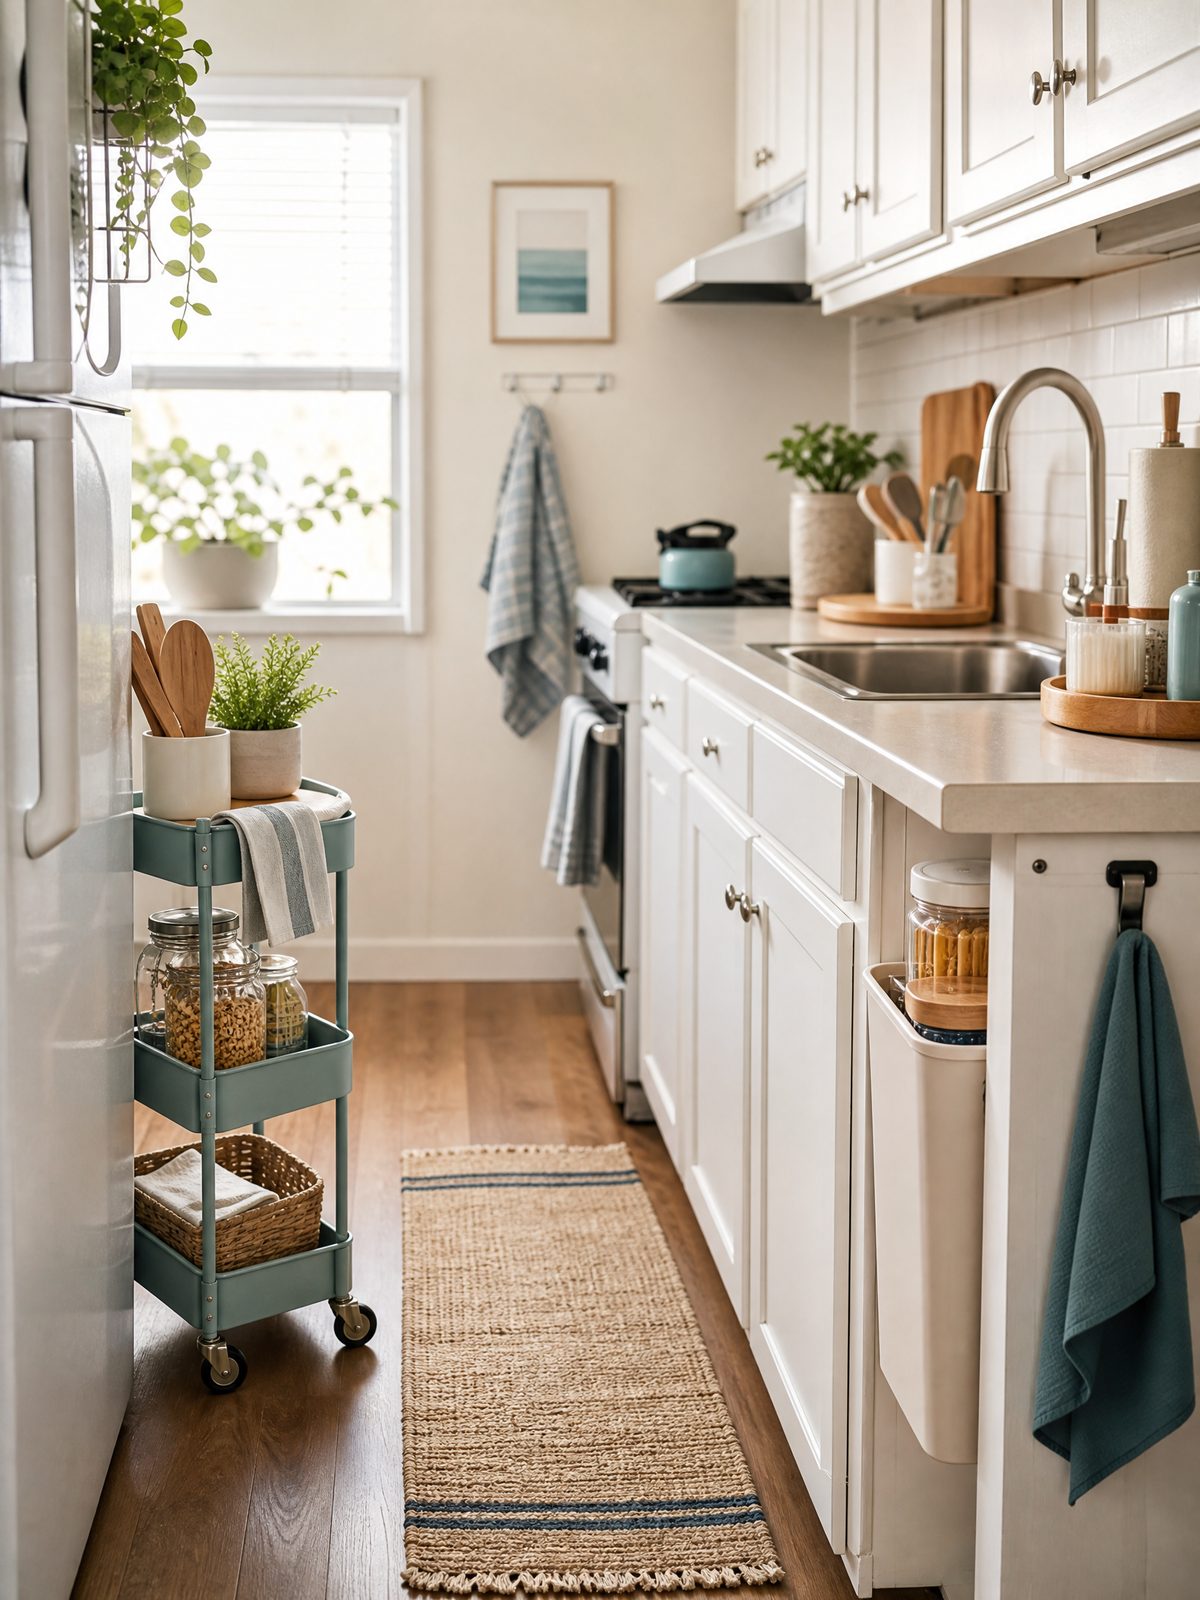
Use non-permanent solutions that won’t damage cabinets: tension rods for vertical storage, adhesive hooks and strips for inside doors, freestanding shelf risers, and slim rolling carts for narrow gaps. Think vertically—inside cabinet doors and higher shelves are often underused real estate.
Quick checklist: renter-friendly fixes
- Command-style adhesive hooks for utensils and small pans
- Tension rods to create dividers for baking sheets or to hang spray bottles under the sink
- Shelf risers to double usable shelf space
- Over-the-sink or over-the-cabinet baskets for drying or staging
Group, label, and contain for daily efficiency
Use clear bins, baskets, or stackable boxes to group like items. Labeling helps keep things in their spot—simple paper labels or a label maker both work. Store by frequency: daily items at the front, seasonal or rarely used items at the back.
Counter strategy: keep what you need, hide the rest
Decide on one or two countertop items you truly use every day (coffee maker, toaster). Everything else should live in a zone near where it’s used. Use a single tray to corral small appliances and keep them easy to move when you need the counter for meal prep.
Make small habit changes that stick
Adopt three repeatable habits: return items to their labeled bin, do a 5-minute nightly reset of the main prep area, and rotate pantry items forward when you restock. These tiny routines preserve your setup without constant effort.
At-a-glance reference
| Accessory | Where to Use It | Trade-off / Tip |
|---|---|---|
| Shelf riser | Upper cabinets and pantry shelves | Increases vertical space; measure height carefully to avoid wasted room |
| Adhesive hook/strip | Inside cabinet doors or tile walls | Very reversible; limit weight to prevent strips pulling off over time |
| Tension rod | Under-sink or between cabinet sides | Great for hanging bottles or dividing trays; avoid overstretching |
| Slim rolling cart | Between fridge and wall or beside stove | Adds accessible storage without installation; takes some floor space |
Related guide: How to Organize a Small Kitchen Without Buying More Storage
Reversible setup sequence (do this in order)
- Choose one high-impact cabinet or drawer and clear it completely.
- Measure shelf heights and note any obstacles (pipes, supports).
- Sort contents into keep, donate, and relocate piles.
- Install non-permanent accessories starting from back-to-front: risers, then dividers, then hooks.
- Place grouped items into labeled containers and return to the cabinet with frequently used items at the front.
- Repeat cabinet by cabinet until zones are set; finish with a nightly reset routine.
Related guide: Renter-Friendly Pantry Organization: A No-Renovation System
Move-out reversal checklist
Follow this quick checklist when it’s time to restore the kitchen:
- Remove all adhesive hooks and strips slowly at the angle recommended by the product to minimize residue.
- Take down tension rods and freestanding racks; store them with your supplies or donate if you prefer.
- Wipe shelves and cabinet interiors; replace any liners you installed with a neutral look or remove them if required.
- Patch small screw holes if you used removable screws (fillers are available from hardware stores) and clean the surface.
- Do a final walkthrough to ensure cabinets match the state in your move-in photos.
Trade-offs and realistic expectations
Reversible fixes keep your deposit safe and are quick to install, but they often offer slightly less capacity or polished looks than built-in renovations. Freestanding solutions free you from landlord permissions, yet they use floor or counter space. Choose the balance that fits your daily routine: more function for cooking-heavy households, or sleeker, minimal setups for small-space living.
Next step
Pick the single cabinet or counter zone that frustrates you most and apply the reversible setup sequence this weekend. Start small: one successful cabinet makes maintaining the rest feel doable and gives you a template to repeat.
FAQ
Will adhesive hooks damage cabinets when removed?
Most removable adhesive hooks are designed to come off cleanly when removed according to the manufacturer’s directions. Remove slowly and test one in an out-of-the-way spot first. If residue remains, a gentle oil or mild cleaner usually lifts it without harming finishes.
Can I use tension rods in every cabinet?
Tension rods work best in wider cabinets with flat sides and no internal obstructions. Avoid overextending rods beyond their recommended length and check they sit securely before hanging items. They’re a low-cost way to add vertical organization where they fit.
How do I keep the kitchen organized long term?
Combine clear, consistent zones with short daily habits: a five-minute nightly reset, labeling, and returning items to their group. Re-evaluate once a season to remove things you don’t use and adjust storage as your needs change.
Sources and fact-checking
This article provides practical editorial guidance. Safety, cleaning, disposal, rental, and product decisions can depend on the item, its instructions, and local requirements.
- U.S. Environmental Protection Agency — Household Hazardous Waste — For cleaners, paint, batteries, oils, pesticides, or other potentially hazardous leftovers, follow the product label and local collection guidance.
Fact-checked against the linked official resources on August 27, 2026.