The Renter-Friendly Bathroom Storage Plan That Avoids Permanent Changes
Bathrooms tend to be the smallest rooms but the most cluttered: shampoo bottles, medications, cleaning products, and linens all compete for a few square feet. Renters often can’t drill into walls or install built-in cabinets, so the practical goal is to add usable storage that’s fully removable when you move.
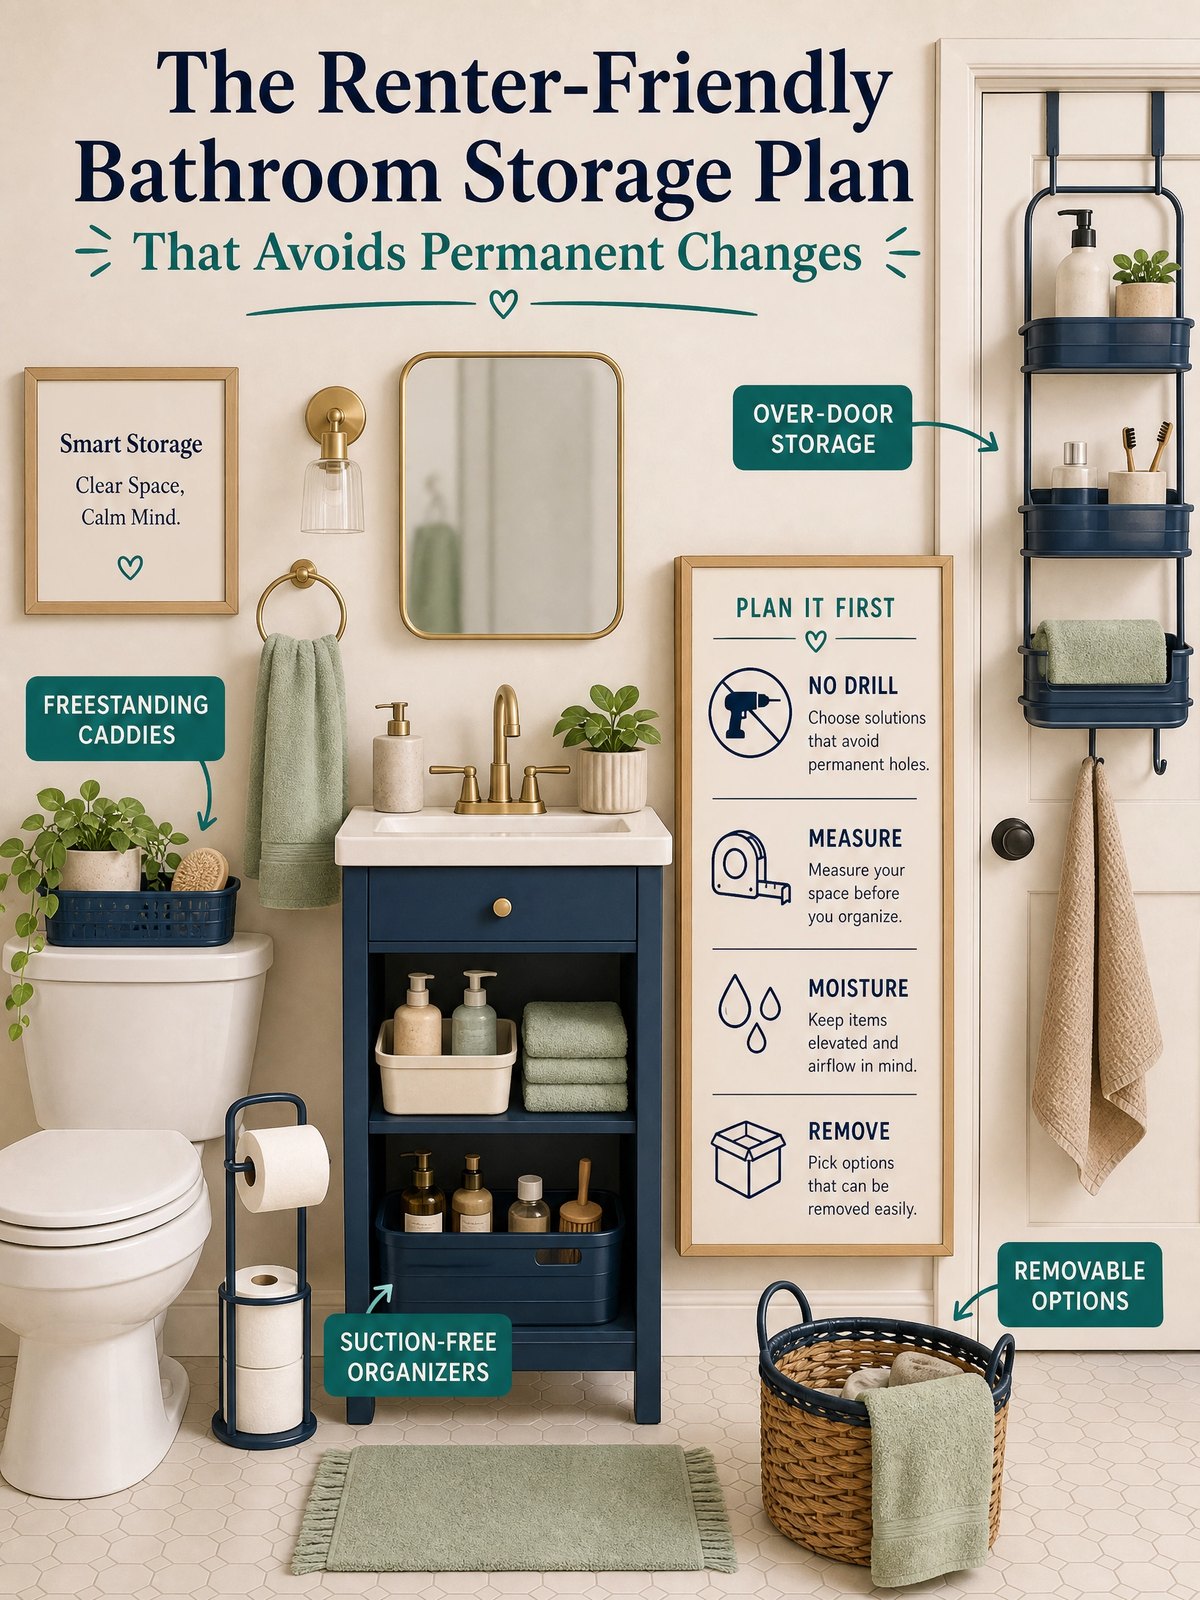
This plan shows renter-friendly, freestanding, and removable storage options arranged for safety and easy removal. It focuses on quick decisions you can make today and the modest checks you should do before you buy or assemble anything. Always follow your lease, the product label, manufacturer instructions, and local authority guidance where relevant.
Start with the real constraint
The primary constraint for renters is non-permanence: avoid drilling holes, cutting surfaces, or otherwise altering property in ways your lease forbids. That rules out fixed wall cabinets, glued strips that leave residue, or anchors that require drywall repairs unless you have written permission. Treat the lease as the first safety and legal check — when in doubt, ask the landlord in writing.
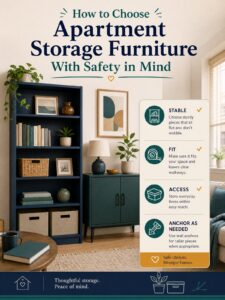
The second constraint is safety and moisture. Bathrooms are humid and often tiled, so any freestanding piece must resist corrosion and sit stable on wet floors. If you choose tall or top-heavy units, secure them where possible following manufacturer instructions and safety guidance: the U.S. Consumer Product Safety Commission advises following manufacturer instructions, securing TVs and top-heavy furniture where appropriate, and keeping climb-attracting items away from the top of furniture. Personal planning approaches such as using anti-slip pads, lowering top loads, or avoiding tall units in small bathrooms are practical options to reduce tipping risk.
At-a-glance plan
| Zone | Removable solution | When to pick it | Decision signal |
|---|---|---|---|
| Shower/tub ledge | Corner caddy that clamps or uses suction designed for wet areas | If you need immediate shower access and tile cannot be drilled | Items slipping into tub or bottles crowding the rim |
| Vanity counter | Small freestanding tray or tiered organizer that lifts off | If the counter is frequently cluttered or you share the sink | Morning scramble for toothbrushes or cosmetics |
| Over-toilet area | Freestanding shelving unit that fits around the toilet base | If vertical space is unused and ceiling height allows | Poor linen access or empty wall space above the tank |
| Under-sink cabinet | Stacked plastic bins, pull-out baskets, or a tension rod for hanging | If under-sink is crowded or cleaning supplies mix with personal items | Difficulty finding small items or spilled bottles |
Build the system step by step
- Survey and measure: With a tape, note widths, clearances for doors, and the distance from floor to ceiling. Measure both installed fixtures and the floor area you can use. Record any tiles, moldings, or baseboard irregularities.
- Prioritize by frequency: Place daily-use items (toothbrush, face wash, shampoo) within arm’s reach. Less-used items go higher or inside bins. Label bins for medicine, cosmetics, and cleaning supplies to avoid cross-contamination.
- Choose removable fittings: Pick freestanding over-the-toilet shelves, tension poles for hanging baskets, and suction or clamp caddies for the shower. For tall shelves, plan how you will stabilize them without drilling as a personal planning approach if required.
- Address safety and hazardous items: Keep medications in a closed container out of children’s reach. For paints, batteries, large cans, and pesticides, follow the product label and local collection guidance; the EPA notes that products such as paints, cleaners, oils, batteries, and pesticides can need special disposal care, and advises following labels and local collection guidance.
- Test and tweak: Load each unit gradually, check for wobble, and rearrange heavier items to lower shelves. If a piece is unstable, consider swapping it for a lower-profile option or adding approved anti-tip measures following the manufacturer’s instructions.
After these steps you should have a layered system: immediate-access containers at the front, medium-use items on easy-to-reach shelves, and seasonal or hazardous items stored in labeled bins under the sink or in a closet. Before making any attachment-based modification, get written permission from your landlord or follow the product label and manufacturer instructions.
Trade-offs to consider
Removable systems prioritize flexibility and lease compliance but trade off built-in permanence and sometimes maximum capacity. Decide which trade-offs matter most for your routine.
- Stability vs. removability: Heavier built-ins are more stable but less renter-friendly; freestanding units are removable but may need weight redistribution.
- Capacity vs. space: Tall shelving holds more but can crowd a small bathroom and block light; low-profile options keep the room open but hold less.
- Cost vs. durability: Cheap plastic bins are inexpensive and immediately useful; metal or plywood freestanding units cost more but last longer and resist moisture better.
Keep it workable
Set a 10-minute weekly tidy: check for spills, wipe shelves with a damp cloth, re-seat suction cups, and inspect for rust or mold. Every three months, empty under-sink bins to check expiration dates and labels. If you keep chemicals, follow the product label and local disposal rules; when in doubt about disposal, contact your local waste authority for instructions.
FAQ
Can I use tension rods and suction shelves in a rental?
Yes, tension rods and suction shelves are often renter-friendly because they don’t require permanent holes, but they can fail on uneven or wet surfaces; consider suction cups designed for your tile type and check manufacturer instructions before use.
How do I keep medicine and cleaners safely separated?
Store medicines in a clearly labeled, childproof container in a high or locked location; keep cleaners in a separate, labeled bin under the sink or in a locked closet. This is a practical option to reduce accidental mixing and to make disposal simpler later.
What if a freestanding unit tips or feels unstable?
If a unit tips, redistribute weight to lower shelves, move heavy items to the floor, and consult the manufacturer instructions for anti-tip solutions; the U.S. Consumer Product Safety Commission advises following manufacturer instructions, securing TVs and top-heavy furniture where appropriate, and keeping climb-attracting items away from the top of furniture.
Choose and buy just one or two removable pieces to start, then live with them for a week to confirm placement before adding more. If you need help with disposal or safety, check local authority guidance and product labels for next steps.
Sources and fact-checking
This guide provides practical editorial guidance. Requirements and safe choices can depend on the product, lease, local rules, and individual situation.
- U.S. Consumer Product Safety Commission — Anchor It! — CPSC advises following manufacturer instructions, securing TVs and top-heavy furniture where appropriate, and keeping climb-attracting items away from the top of furniture.
- U.S. Environmental Protection Agency — Household Hazardous Waste — EPA notes that products such as paints, cleaners, oils, batteries, and pesticides can need special disposal care, and advises following labels and local collection guidance.
Fact-checked against the linked official resources on August 27, 2026.