
Home Organization Labels for Shared Small-Apartment Spaces
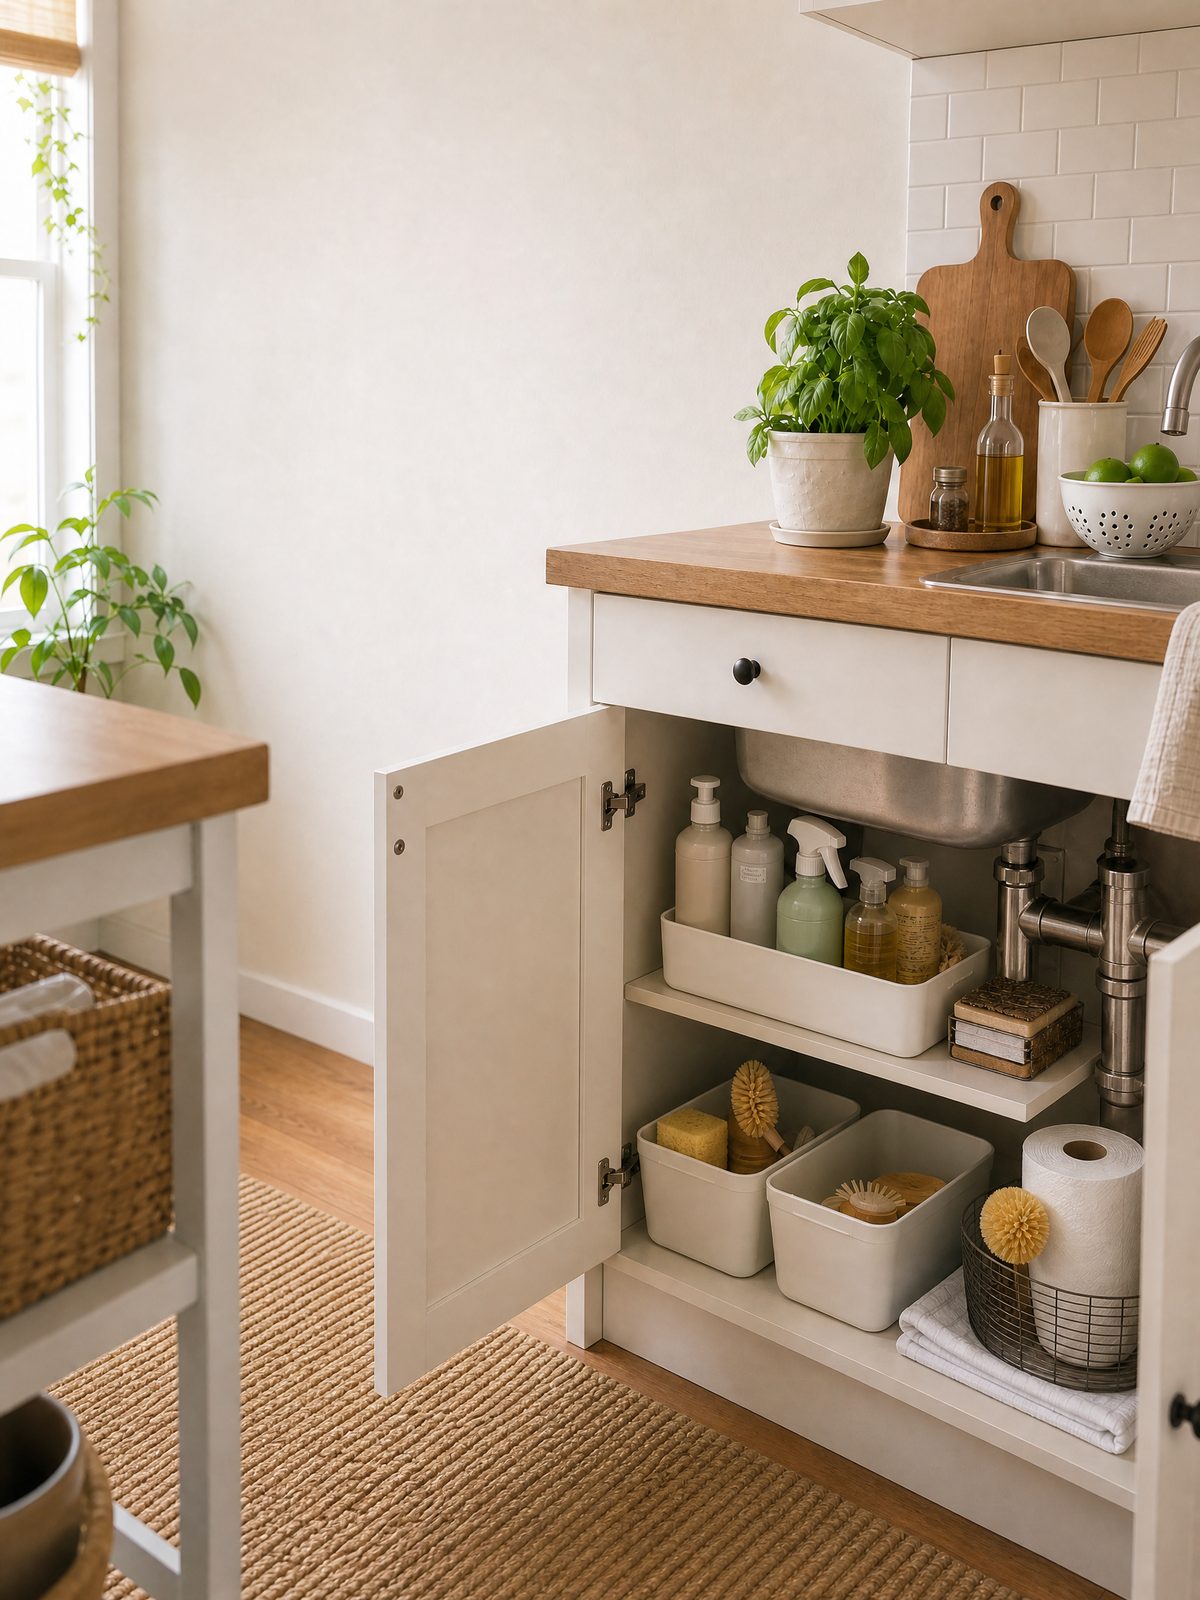
Home organization labels work best when they tell everyone what belongs in a space and what to do next. In a shared small apartment, that can mean more than printing a neat category name. A useful label might say where an item returns, whether the container is shared or personal, and when someone should add it to the refill list.
The practical goal is not to label every shelf. It is to reduce the repeated decisions that create clutter in high-traffic areas. Start with a few shared zones, choose a label material that fits the surface, and use short wording that a roommate can understand at a glance.
Quick answer: build a small system, not a wall of labels
Choose four to six places where items are regularly misplaced, mixed together, or allowed to run out. Good starting points include a cleaning-supply shelf, pantry overflow bin, paper-goods reserve, shared-tool box, entryway basket, and emergency-supply tote. Label the location rather than every individual object whenever possible.
A simple label format is usually enough:
- Category: what belongs here.
- Boundary: shared, personal, refill, return, or do not mix.
- Action: put back after use, add to list when one remains, or check before buying more.
For example, “SHARED CLEANING CLOTHS – RETURN DRY” gives more useful direction than “CLEANING.” The exact wording is a household choice, but the label should solve a real point of confusion.
How to choose home organization labels for a shared space
Label products range from painter’s tape and index cards to vinyl decals, clip-on holders, label makers, and QR inventory stickers. The most expensive option is not automatically the best. The right choice depends on how often the contents change, whether the surface belongs to a renter, and whether the label must tolerate moisture or frequent handling.
| Label type | Best use | Main advantage | Trade-off to check |
|---|---|---|---|
| Removable paper or painter’s tape | Testing a new zone for one or two weeks | Low cost and easy to rewrite | Can curl, smudge, or look temporary |
| Reusable card in a clip or clear pocket | Baskets and bins whose contents change | Fast updates without replacing the holder | Needs a compatible edge or smooth mounting area |
| Printed removable label | Stable pantry, closet, and utility categories | Readable and consistent across a small space | Adhesive may perform differently on textured, dusty, or damp surfaces |
| Water-resistant label | Laundry or under-sink zones with occasional moisture | More durable during wiping and handling | Removal may be harder, so test it first |
| QR inventory label | Opaque seasonal bins or rarely opened storage | Can connect a bin to a detailed digital list | Requires a phone and more upkeep than most daily-use zones |
If you rent, test removable adhesive in a hidden spot and review your lease before attaching anything to a wall, cabinet, or painted door. Our guide to using adhesive storage in a rental explains the same surface-first decision in more detail.
Start with the places that create repeated friction
Walk through the apartment at the end of a normal day. Look for evidence of a decision problem: items left beside a bin, duplicate purchases, personal food mixed with shared food, or supplies returned to different cabinets.
Prioritize a zone when at least two people use it and the correct return location is not obvious. A label is especially useful when a closed bin hides its contents or when similar containers serve different purposes. It is less useful when the item already has one unmistakable home.
Shared kitchens often need boundaries as much as categories. You might label one basket “SHARED SNACKS” and another “PERSONAL ITEMS,” while keeping names on removable cards. If the entire layout needs work, first create the zones described in our shared rental kitchen guide, then label only the boundaries people tend to forget.
Write labels that prompt the next action
A label should be readable from the position where someone makes the decision. Keep the main line short, use everyday words, and place any secondary instruction beneath it. Avoid clever category names that only one roommate understands.
Useful wording patterns
- Return rule: “TOOLS – RETURN TO THIS BIN.”
- Ownership rule: “SHARED PAPER GOODS.”
- Restock trigger: “ADD TO LIST WHEN ONE REMAINS.”
- Sequence rule: “USE OPEN PACKAGE FIRST.”
- Condition rule: “CLOTHS MUST BE DRY BEFORE STORAGE.”
- Review rule: “CHECK CONTENTS EACH JANUARY.”
Do not squeeze a full policy onto a small sticker. For a multi-step process, use a short label at the storage point and keep the checklist in a shared note.
Create a shared-space label plan
Use this sequence to set up the system without buying a large kit first.
- Choose four to six problem zones. Photograph each area before changing it so you can compare whether the system actually helps.
- Sort before labeling. Remove trash, duplicates, empty packages, and items that belong elsewhere. Labels cannot fix an overfilled container.
- Define one category per zone. Broad categories such as “household backup” often become catchalls. Prefer a label that describes what fits and what does not.
- Draft the words on temporary tape. Let everyone use the wording for a week. Revise any label that causes questions.
- Choose the permanent format. Match the material to the surface, moisture level, and expected update frequency.
- Add one maintenance trigger. Link the zone to a weekly reset, monthly supply check, or annual review instead of relying on someone to notice randomly.
For frequently consumed items, the physical label and the shopping process should work together. A bin can say “ADD TO LIST WHEN ONE REMAINS,” while a shared note holds the actual purchase request. The method in our cleaning and paper supply refill list can keep the label from turning into a vague reminder.
Do not cover or replace safety information
Decorative home organization labels are not substitutes for manufacturer labels. The U.S. Environmental Protection Agency advises keeping household hazardous products in their original containers and never removing their labels. Products such as some cleaners, paints, oils, batteries, and pesticides may require special storage or local disposal handling.
That means a shelf or outer bin can be labeled “HOUSEHOLD CLEANERS,” but individual chemical containers should keep their original names, directions, warnings, and disposal information visible. Never pour a hazardous product into a food or beverage container. Do not use a broad “refill” label as permission to mix leftover products.
Batteries also need more than a decorative category name. EPA guidance explains that battery types are identified by their markings and should be managed according to chemistry and product instructions. Keep those markings visible, separate damaged items from ordinary household storage, and follow local collection guidance. A home label can identify the storage zone, but it should not hide the information needed to handle the battery correctly.
Use labels for emergency supplies without creating false confidence
An emergency-supply tote benefits from a clear location label and a review date, but the label is only a reminder. Ready.gov recommends assembling basic supplies and rethinking household needs every year as circumstances change. A practical outer card might list “HOME EMERGENCY KIT,” the last review month, and the next review month.
Keep the inventory on a separate card inside the lid or in a shared digital note. That gives you space to record changed household needs without crowding the outside label. If the kit moves, update the household plan so everyone knows the new location.
Common mistakes and realistic trade-offs
- Labeling before decluttering: This creates neat names for categories that are still too large for the available space.
- Using permanent vinyl during a trial: Household routines often change after a week of real use. Temporary wording is safer at the start.
- Choosing appearance over readability: Low-contrast script may look polished but fail in a dim closet.
- Adding too many instructions: People stop reading when every bin carries a paragraph.
- Ignoring shared ownership: A category label does not explain whether an item is communal, personal, or waiting to be donated.
- Forgetting the maintenance trigger: A label can show where an item belongs, but it cannot restock or review the zone on its own.
Printed labels can be durable and consistent, while temporary cards are easier to change. A label maker may help across many rooms, but handwriting is adequate for a small system. Buy a product only after the temporary version proves the category works.
A 10-minute monthly label check
Once a month, walk through the labeled zones with a cloth and a marker. Remove any label that no longer matches the contents. Rewrite smudged cards, clean the mounting surface, and check whether objects are repeatedly being left beside the container. That last pattern usually means the location, container size, or wording needs adjustment.
Ask one question: “Could a guest understand where this goes without asking?” If the answer is no, make the label more specific or move it closer to the decision point. Keep the system small enough that maintaining it does not become a separate household chore.
FAQ
What are the best home organization labels for renters?
Removable paper labels, reusable cards in clip-on holders, and removable printed labels are practical starting points. Test any adhesive on a hidden area, clean the surface as directed by the label manufacturer, and check the lease before attaching items to painted or finished surfaces.
Should every storage bin have a label?
No. Label bins that hide their contents, serve multiple people, or are often returned to the wrong place. An open basket holding one obvious category may not need a label. Too many labels can add visual noise and increase upkeep.
How can roommates agree on label wording?
Use temporary tape for one week and ask whether each label answers three questions: what belongs here, who can use it, and what action happens next. Keep the wording that everyone understands and revise anything that requires explanation.
Can I put a new label on cleaning products or batteries?
Do not cover, remove, or replace the manufacturer’s safety and identification information. Label the shelf, basket, or outer storage zone instead. Keep products in appropriate original containers and follow the product instructions plus local disposal guidance.
Sources and fact-checking
This guide combines practical organization advice with current U.S. safety guidance. Product instructions, lease terms, and local collection rules can vary.
- U.S. Environmental Protection Agency – Household Hazardous Waste – guidance on original containers, product labels, storage directions, and local disposal programs.
- U.S. Environmental Protection Agency – Used Household Batteries – guidance on battery identification, handling, recycling, and collection.
- Ready.gov – Build A Kit – current emergency-supply checklist and annual review guidance.
Fact-checked against the linked official resources on November 3, 2026.