Storage Containers for Small Homes: Measure Before You Buy
This guide focuses on storage containers for U.S. renters and small-home movers, with a practical system for choosing what to buy, what to prepare, and what to verify before moving day.
Buying storage containers feels like an easy first step, but in a small home the wrong sizes and placements make clutter worse. This article shows how to measure what you actually have, name the storage problems, and choose a strategy so containers solve needs instead of creating new headaches.
Follow the short sequence here to map usable surfaces, understand daily habits that drive clutter, and match containers to real openings, not imagined space. If you rent, follow your lease and any building rules before altering walls, doors, or built-ins.
Start with the real constraint
Most people treat square footage as the constraint, but the immediate limit is usable storage volume: the shelves, closet depth, underbed clearance, and wall span where you can actually put containers. Measure those openings, including doors, vents, and heating registers that reduce usable space.
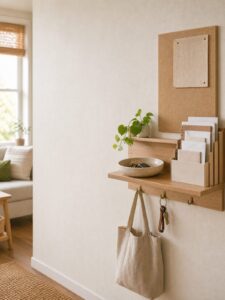
Also name the problem clearly: is it overflow in closets, kitchen counter crowding, seasonal items in living areas, or small items lost in drawers? A single sentence such as “coats and backpacks invade the entry” or “kitchen counters hold rarely-used appliances” turns vague frustration into a target for solutions.
When planning for furniture or anchors, note safety instructions. The U.S. Consumer Product Safety Commission advises following manufacturer instructions, securing TVs and top-heavy furniture where appropriate, and keeping climb-attracting items away from the top of furniture. For renters, verify whether wall anchors or screws are permitted by your lease before drilling.
At-a-glance plan
| Step | What to measure or decide | Timing or trigger |
|---|---|---|
| 1. Map openings | Measure shelf widths, closet depth, door clearances, and underbed height | Before shopping for containers |
| 2. Count problem items | List categories (outerwear, shoes, cleaning supplies, paperwork) and approximate counts | When you can see overflow visibly |
| 3. Choose a strategy | Decide which zones to prioritize (entry, kitchen, bedroom, bathroom) | If one zone causes daily friction, prioritize it first |
| 4. Match containers to openings | Buy containers that fit measured dimensions and are easy to move or label | Only after measurements and a single shopping list |
Build the system step by step
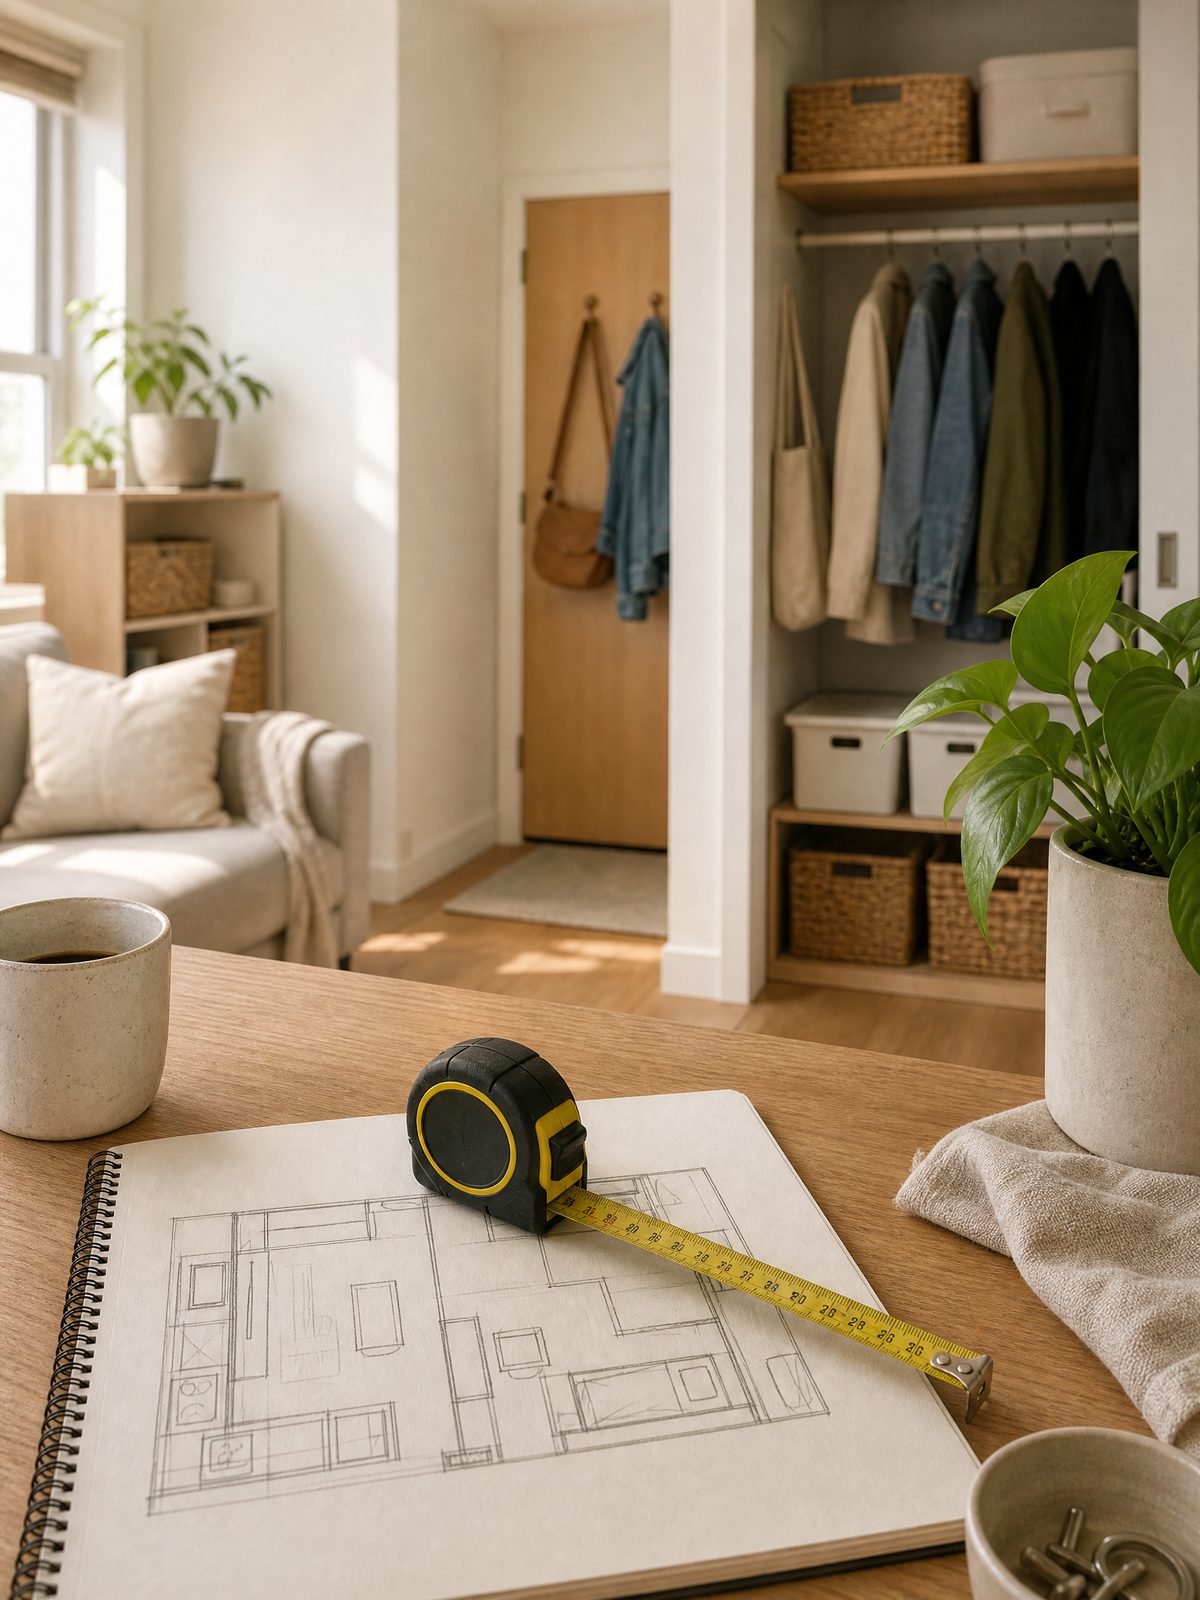
- Measure and sketch the space: Draw a quick floor plan for closets and shelving with widths, depths, and clearance heights.
- Inventory problem categories: Write short counts for the items that cause overflow and identify one daily-use category per room.
- Decide container roles: Assign containers to specific openings and tasks (e.g., underbed boxes for out-of-season clothes, narrow bins for baking trays).
- Test with placeholders: Use soft boxes or cardboard cut to size for a week to ensure access and fit before buying permanent containers.
- Acquire and place: Buy containers that match the tested dimensions, label them, and place them according to the plan.
The numbered steps keep you from impulse buying. A sketch with measurements prevents returns and pile-ups of mismatched bins. Testing with placeholders is a low-cost, reversible rehearsal that reveals door swings, drawer conflicts, and how often you actually reach for stored items.
Trade-offs to consider
Every storage choice balances accessibility, capacity, and appearance. Being explicit about which you prioritize makes decisions easier.
- Accessibility vs. capacity: Open baskets are easy to grab from but hold less than stackable bins that fit a closet to the ceiling.
- Permanent fixtures vs. renter flexibility: Built-ins maximize space but may be restricted by a lease; freestanding solutions are landlord-friendly.
- Uniform look vs. category clarity: Matching containers look tidy but clear-labeling with mixed containers can beat aesthetics when you need fast access.
Keep it workable
Set a simple maintenance habit: 10–15 minutes weekly to return items to their assigned container, re-fold, or thin out anything that migrated. If a container fills faster than expected, note whether you need to reduce incoming items or reassign a bigger container; personal planning options include a one-in/one-out rule for clothing or a 30-day purge pile for paper.
Buy Storage Containers Only After the Category Is Stable
Storage containers solve a defined fit problem; they do not create extra space. Sort the category first, decide how often it is used, and measure the actual opening rather than the outside of the cabinet. Record width, height, depth, door swing, trim, pipes, outlets, and the space needed to grip and remove the container.
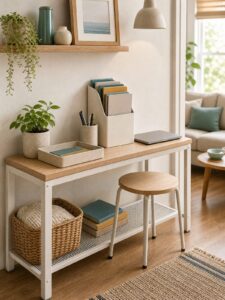
Choose shallow open bins for daily items, handled bins for high shelves, drawer units for small pieces, and lidded containers for dust-prone long-term storage. Avoid one enormous bin for unrelated items. It becomes heavy, hard to retrieve, and difficult to reset. Leave a little clearance instead of purchasing a container that fits only when perfectly aligned.
Check weight and furniture stability
Read the manufacturer’s load and stacking directions. Place dense items low and avoid creating a tall unstable tower. CPSC’s Anchor It guidance addresses the risk of furniture and television tip-overs; anchoring requirements depend on the item, wall, hardware, lease, and manufacturer instructions. A container should never make a bookcase or cabinet less stable.
The shelf organizer guide helps control one busy surface, while the closet downsizing guide reduces the category before storage products are purchased. Keep receipts until the fit is tested in the real space.
FAQ
How do I measure awkward spaces like sloped closet ceilings?
Measure usable height at several points along the shelf or floor (front, middle, back). Record the lowest usable height and design containers to fit that dimension; consider shallow baskets or vertical dividers for sloped areas.
What if I’m renting and can’t install wall hooks or shelves?
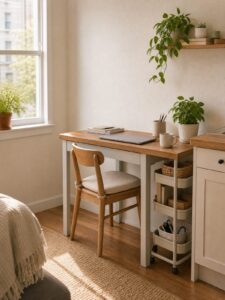
Look for freestanding or tension-mounted solutions and furniture with built-in storage. Always check your lease and building rules before drilling or attaching anchors; following manufacturer instructions is also essential for any installed hardware.
When should I anchor furniture or wall-mounted storage?
Anchor furniture and wall-mounted storage when a unit is top-heavy, when children or pets could climb, or when the manufacturer recommends anchoring; the U.S. Consumer Product Safety Commission advises following manufacturer instructions and securing TVs and top-heavy furniture where appropriate.
Pick a single zone to apply this whole process—entryway or kitchen works well for most households—and complete the measure-inventory-test loop there first. After that success, repeat the steps for another room and refine container types based on real use.
Test the plan with what you already own. Before purchasing containers, place a temporary label on each intended storage zone and use it for several days. Pay attention to whether items return there naturally and whether the zone still leaves a clear path. This small test helps you size the system around actual habits rather than an idealized layout.
Are clear storage containers always better?
Clear bins make contents visible, while opaque bins reduce visual clutter and light exposure. Choose by location and category, then use a readable label so either type can be maintained.
Sources and fact-checking
This guide provides practical editorial guidance. Requirements and safe choices can depend on the product, lease, local rules, and individual situation.
- U.S. Consumer Product Safety Commission — Anchor It! — CPSC advises following manufacturer instructions, securing TVs and top-heavy furniture where appropriate, and keeping climb-attracting items away from the top of furniture.
Fact-checked against the linked official resources on November 1, 2026.