A New-Year Small Apartment Reset That Starts With One Room
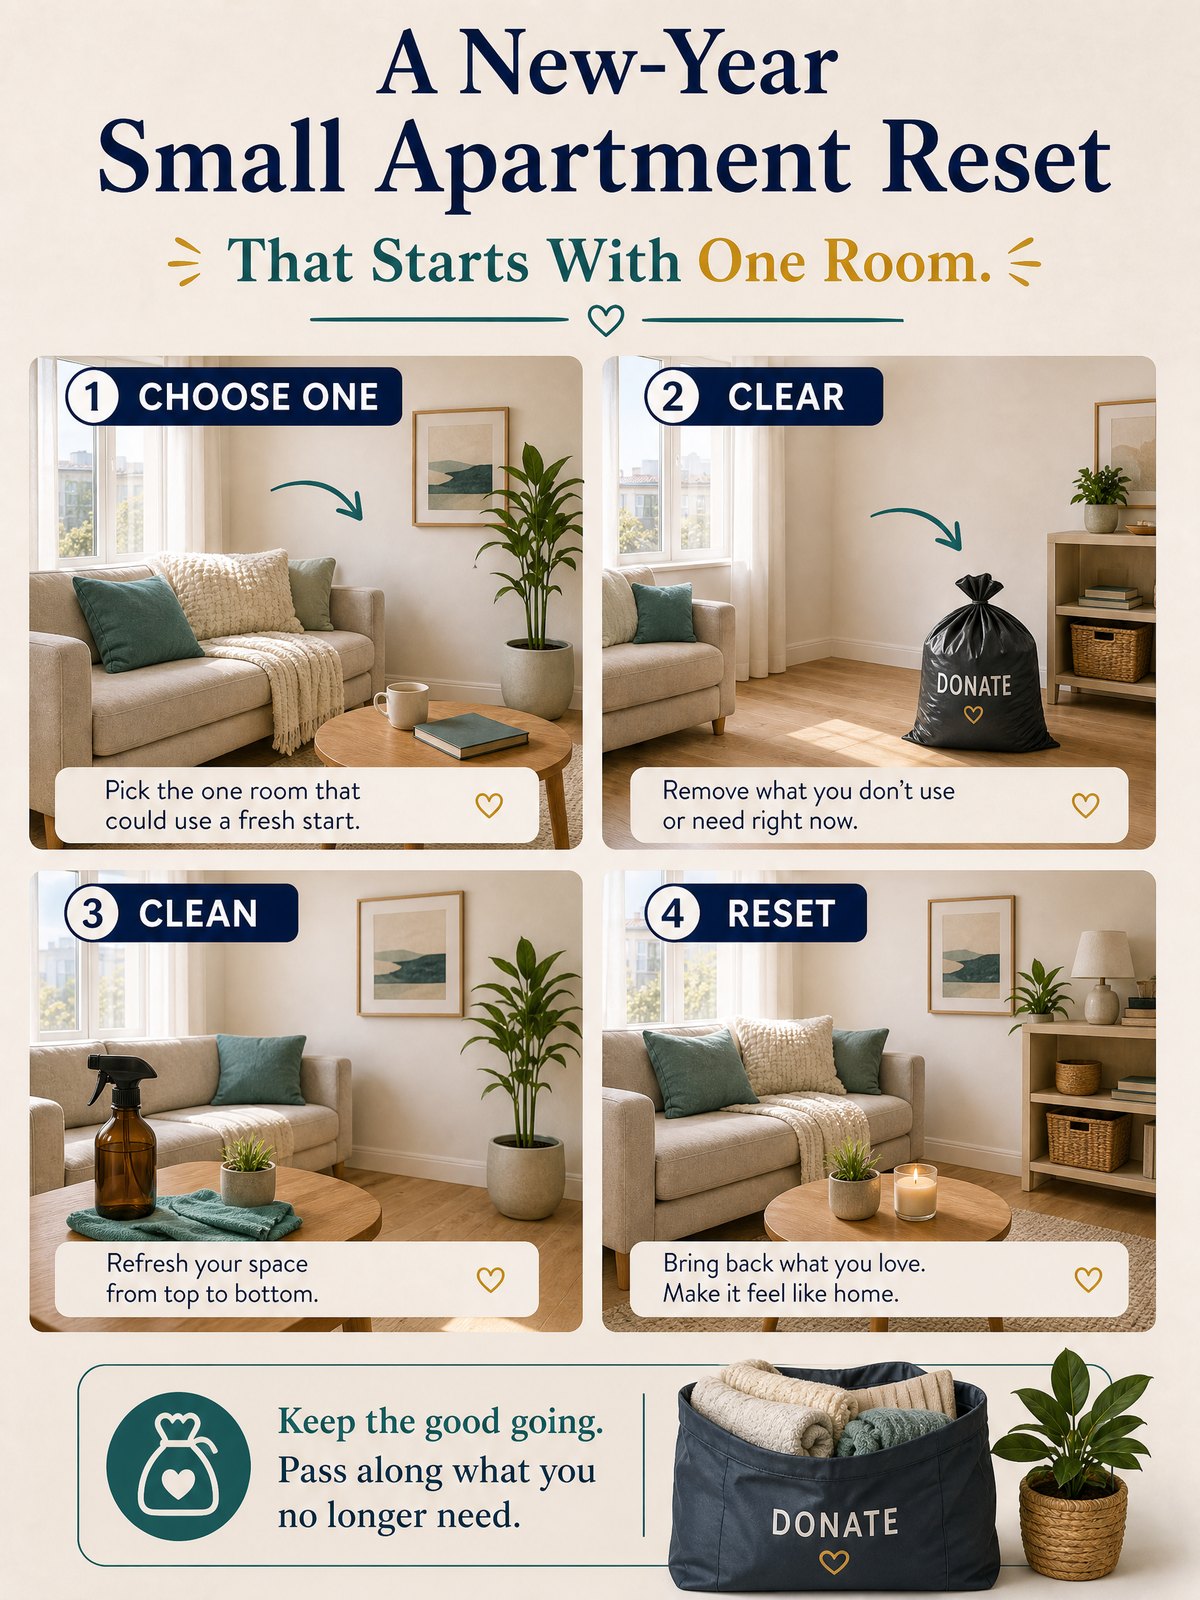
Small apartments feel full quickly because most people try to fix everything at once: buy a bin, move furniture, and reorganize every shelf. That approach leads to too many containers, a pile of unused organizers, and no lasting habit to put things back.
This article shows a single-room reset you can finish in a few hours and then maintain: pick one accessible category (for example, shoes, papers, or daily dishes), build one clear return path for those items, and avoid buying organizers until the system proves it actually needs them.
Start with the real constraint
The real constraint in a small apartment isn’t limited square footage so much as limited attention and walking routes. You only need to change the place where an item is most often used and returned, not every shelf in the unit. Choosing one category that lives along a natural path reduces resistance to a new habit.
Another common constraint is storage that’s hard to reach. Items stored behind other things, on high shelves, or in deep bins are less likely to be returned. As a practical option, pick a category you use daily or weekly that is already near an easy surface or entry point — this gives you a realistic spot to create a return path without rearranging the whole apartment.
Finally, avoid buying more plastic or fabric organizers before you know the flow. People overbuy organizers because they seem like a quick fix; instead treat them as tools you can add if you still need them after trying a simple return path for two or three weeks.
At-a-glance plan
| Phase | Time | Decision signal |
|---|---|---|
| Choose one category | 15–30 minutes | Category is used daily or sits on a common route |
| Clear and sort | 30–90 minutes | Only keep items you use in the last 6–12 months (personal planning choice) |
| Create a return path | 15–45 minutes | Visible, reachable spot within the natural flow of movement |
| Test for 2–3 weeks | 2–21 days | Items are returned without frequent reminders or added containers |
Build the system step by step
- Pick the category: choose one that intersects daily life. Examples: keys, mail, workpapers, shoes you use daily, or dishes you use every day.
- Empty the staging area: remove everything from the nearest surface or shallow storage that will become the return spot and sort items into keep, relocate, give/sell, and toss piles. Labeling is optional as a personal planning approach.
- Set a simple landing spot: use a single tray, hook, small basket, or shelf space on the natural path where the items are used. The landing should be visible and reachable without moving other things.
- Make a short rule: write one sentence you can follow for two weeks, such as “Put keys on the tray by the front door after unlocking the door.” This is your return-path rule — keep it simple.
- Review and adjust: after two weeks, decide whether the landing spot needs an organizer, a label, or a new location. Only add storage if the current flow still creates overflow or confusion.
These steps keep the project from expanding into a full-scale reorganization. The focus on one category reduces decision fatigue, and the two-week test helps you avoid overbuying organizers that might not solve the real problem: a missing habit and an inconvenient landing spot.
Trade-offs to consider
Every simple system accepts trade-offs. Be explicit about which one you’re choosing so you can adjust later without guilt.
- Convenience vs. aesthetics: a visible tray or hook may be less pretty but more likely to encourage returns.
- Short-term space sacrifice vs. long-term clarity: keeping a small landing area free may feel tight at first but reduces lost items later.
- Minimalism vs. redundancy: one tray works for daily flow, but duplicate spots can be helpful if multiple people use the space.
Keep it workable
Maintenance is mostly about habit: attach the return action to an existing routine (set the keys down when you put down your bag, file mail while the kettle boils). Schedule one 10–15 minute weekly check-in to clear any overflow and put items back into their long-term homes. If the landing area fills up regularly after a few weeks, that is the signal to either reduce what you keep there or add a small organizer — not before.
FAQ
How do I pick the best category for my small apartment?
Choose something you reach for every day or that commonly gets misplaced: keys, wallet, glasses, mail, or the dishes you use daily. The aim is to pick a category already near a natural path so the return action requires minimal extra steps.
What if roommates or partners don’t follow the return path?
Turn the rule into a shared agreement: agree on the landing spot, label it if helpful, and set a short grace period for reminders. If shared traffic still causes overflow, consider a duplicate landing spot for shared items or a quick weekly tidy that everyone accepts as part of apartment upkeep.
When should I actually buy an organizer?
Only after a two- to three-week trial shows persistent overflow or sorting problems. An organizer is useful when the landing spot reliably fills and you need compartments to separate items; otherwise it often just adds clutter. Buying before testing is a common cause of wasted space and unused containers.
Start with one category this week and complete the two-week trial; use the outcome to decide whether to add permanent containers or change the return path. Keep notes on what worked so you can repeat the process in the next room or category.
Sources and fact-checking
This guide provides practical editorial guidance. Requirements and safe choices can depend on the product, lease, local rules, and individual situation.
- U.S. Consumer Product Safety Commission — Anchor It! — CPSC advises following manufacturer instructions, securing TVs and top-heavy furniture where appropriate, and keeping climb-attracting items away from the top of furniture.
Fact-checked against the linked official resources on August 27, 2026.