
Winter Entryway Organization: A Small-Space Plan for Coats, Boots, and Wet Gear
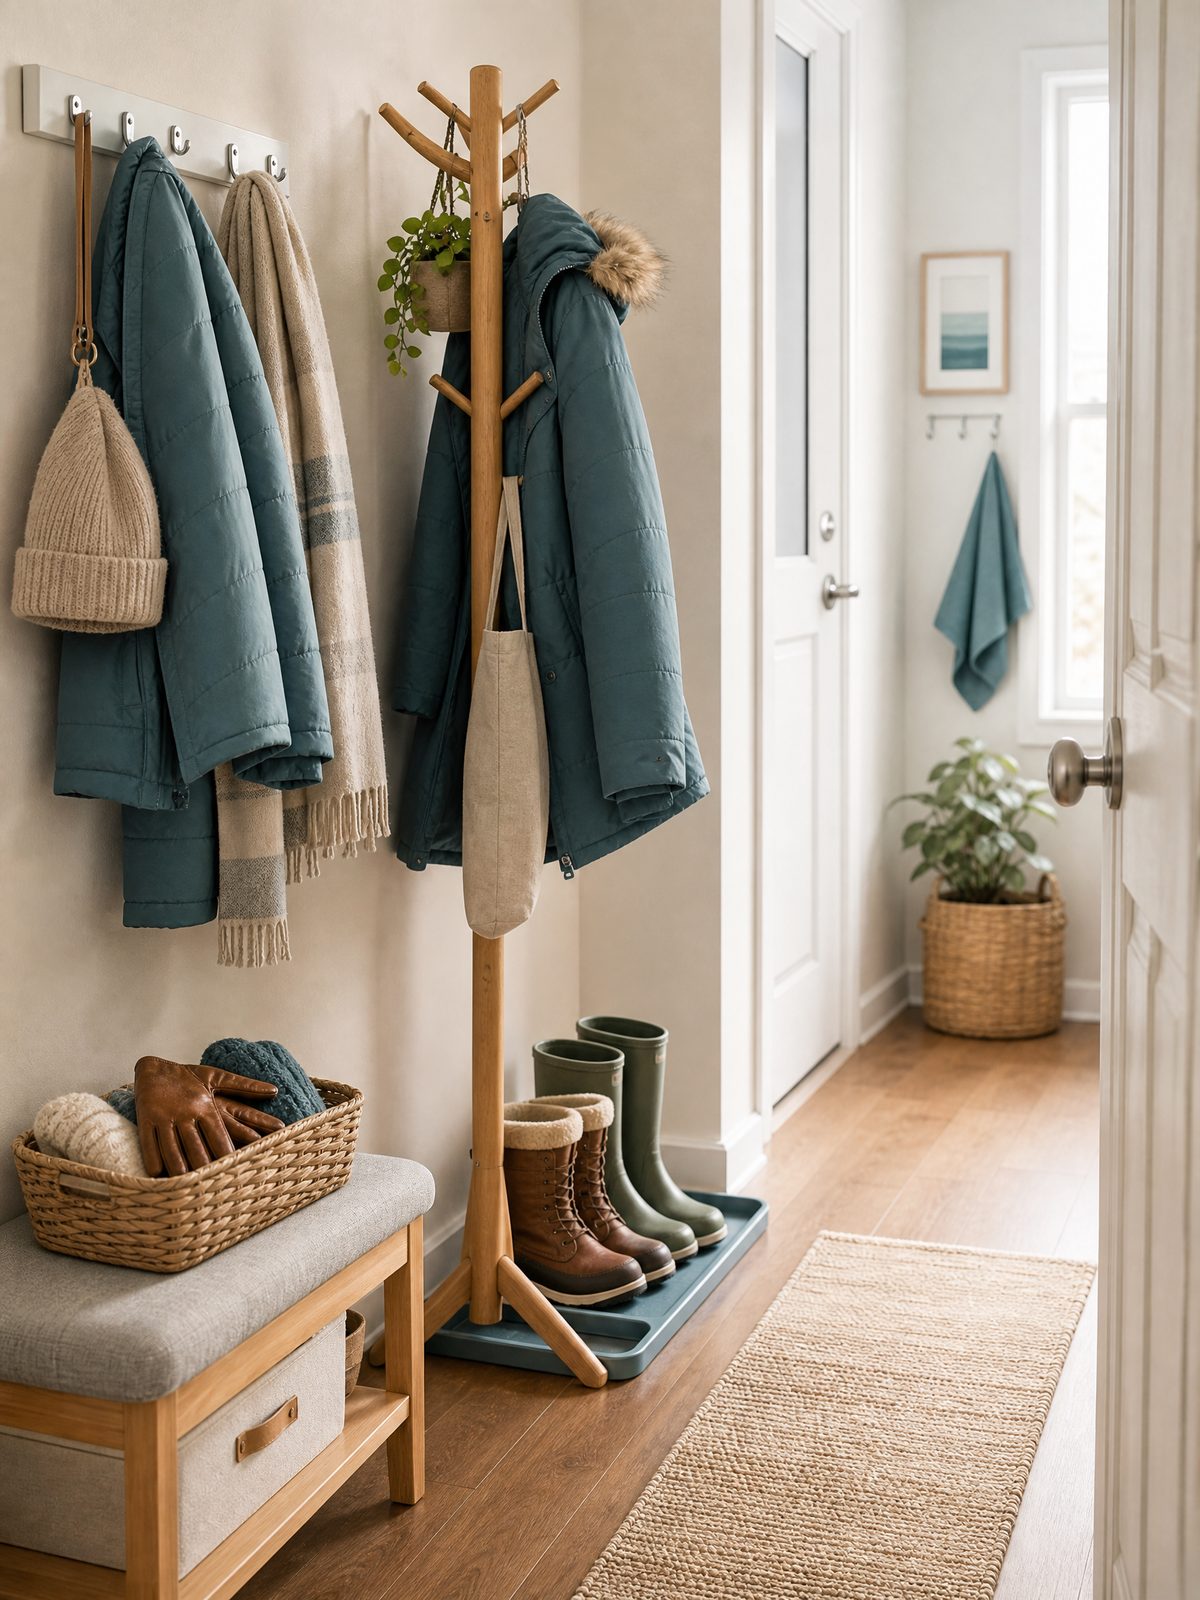
If your entryway turns into a soggy, overflowing staging area every time it snows or rains, a simple, repeatable plan will keep things usable. This guide lays out a small-space approach for coats, boots, and wet gear so you can get in, shed layers, and move on without puddles or panic.
The process focuses on four practical actions: a drying zone, a footwear boundary, wet-gear rotation, and a weekly reset. Each step fits a tiny footprint and accepts trade-offs—choose the one that balances convenience and neatness for your lifestyle.
Map the space before buying or moving anything
Measure the width of your door swing, the clearance for coat lengths, and the floor area you can spare for a mat or rack. In tight entryways the best layout often means prioritizing immediate needs: where wet boots land and where a coat can hang without brushing shoes. A quick sketch with measurements avoids returning items that don’t fit.
Design a dedicated drying zone
The drying zone is the single most useful element in winter. It’s a small, intentional area where wet items can sit without damaging floors or soaking other belongings. A good drying zone has three parts: an absorbent layer, elevation for airflow, and a spot for quick towel-drying.
Quick tips
Keep a compact drying rack or wall-mounted fold-down shelf if floor space is tight. Use a waterproof tray or washable mat underneath to catch drips, and rotate items off the rack as they dry so the area stays available for the next rainy day.
Establish a clear footwear boundary
Define a visual and physical line where outdoor shoes stop and indoor life begins. A boundary can be a bench with shoe cubbies, a slim shelving unit, or simply an extra-wide mat. The goal is to keep dirt and salt off rugs and to give boots a predictable place so people don’t drop them into walkways.
- Use vertical storage where floor space is limited—stackable cubbies, low shelves, or a slender shoe cabinet.
- Reserve one or two pairs of indoor shoes nearby to encourage switching out wet footwear quickly.
- Label or color-code spots if multiple people use the entry—small cues speed compliance.
Set up a wet-gear rotation
Wet-gear rotation means you keep fewer items in the active drying zone and rotate gear between use, drying, and storage. For example: today’s boots on the drying rack, yesterday’s boots tucked into a ventilated storage bin, and fully dry seasonal items stored away. This prevents the drying area from turning into long-term storage.
At-a-glance reference
| Item | Temporary spot | Rotation timing |
|---|---|---|
| Wet boots | Drying rack or tray | Move after 1–2 days, when dry |
| Raincoats/parkas | Wall hook or collapsible drying hanger | Rotate to closet after 24–48 hours |
| Umbrella & gloves | Small bin with drainage/airflow | Empty and dry weekly |
| Seasonal footwear | High shelf or under-bed box | Store long-term when fully dry |
Practical storage solutions for tiny entryways
Choose low-profile storage that doubles as seating or a surface. A narrow bench with cubbies keeps shoes off the floor and lets you sit to pull on boots; wall hooks free up floor space for the drying zone; and open shelving avoids the bulk of closed cabinets. Balance accessibility with protection—closed bins look tidy but can trap moisture if you put damp gear in them.
Weekly reset: a short, repeatable routine
Set aside 10–15 minutes once a week for a reset. The routine should include: wiping the tray/mat, checking the drying rack and moving anything dry to long-term storage, emptying the umbrella bin, and sweeping or vacuuming the footwear boundary. Regularly done, this prevents the slow accumulation that turns manageable clutter into a full-blown problem.
Related guide: How to Create a Drop Zone in a Small Entryway
Trade-offs to consider
In small spaces you must decide what to prioritize. A large drying rack dries faster but takes up room; a compact drying shelf saves floor space but may require more frequent rotation. Closed storage hides mess but can retain dampness unless you only store fully dry items. Think in terms of access versus containment: the more accessible you make gear, the more likely people will use it properly.
Related guide: A Fall Apartment Reset Checklist Before the Busy Season
Clear next step
Pick one manageable change today: measure where a mat and a narrow drying rack will fit, then place them by the door. This single action creates an instant drying zone and shows what additional storage you really need. From there, add a footwear boundary and commit to a 10-minute weekly reset to keep the system working.
FAQ
How do I dry wet boots without taking up the whole entryway?
Use a vertical or fold-down drying solution mounted on the wall, or a small rack that elevates boots off the floor. A waterproof tray beneath it contains drips. Rotate boots to a ventilated bin or shelf once dry so the rack is free for the next wet day.
What if I don’t have permission to drill into walls?
Choose freestanding options: a slim over-the-door rack, a narrow bench with cubbies, or a collapsible drying stand that you pull out only on wet days. Mats and trays require no installation and still define your footwear boundary.
How do I keep the area smelling fresh?
Empty and air out the drying zone during the weekly reset, wash mats and tray liners regularly, and allow boots and gloves to dry completely before storing. Silica packs or breathable charcoal sachets in storage bins can help minimize lingering odors without chemicals or sprays.
With a focused drying zone, a clear footwear boundary, a simple wet-gear rotation plan, and a weekly reset, your entryway can stay usable all winter—even in a tiny footprint. Start small, see what works, and adjust the trade-offs to fit your daily routine.
Sources and fact-checking
This article provides practical editorial guidance. Safety, cleaning, disposal, rental, and product decisions can depend on the item, its instructions, and local requirements.
- U.S. Consumer Product Safety Commission — Anchor It! — For furniture, TV, or elevated-storage safety, follow product instructions and secure top-heavy furniture where appropriate.
Fact-checked against the linked official resources on August 27, 2026.