
How to Store Summer Gear in a Small Apartment
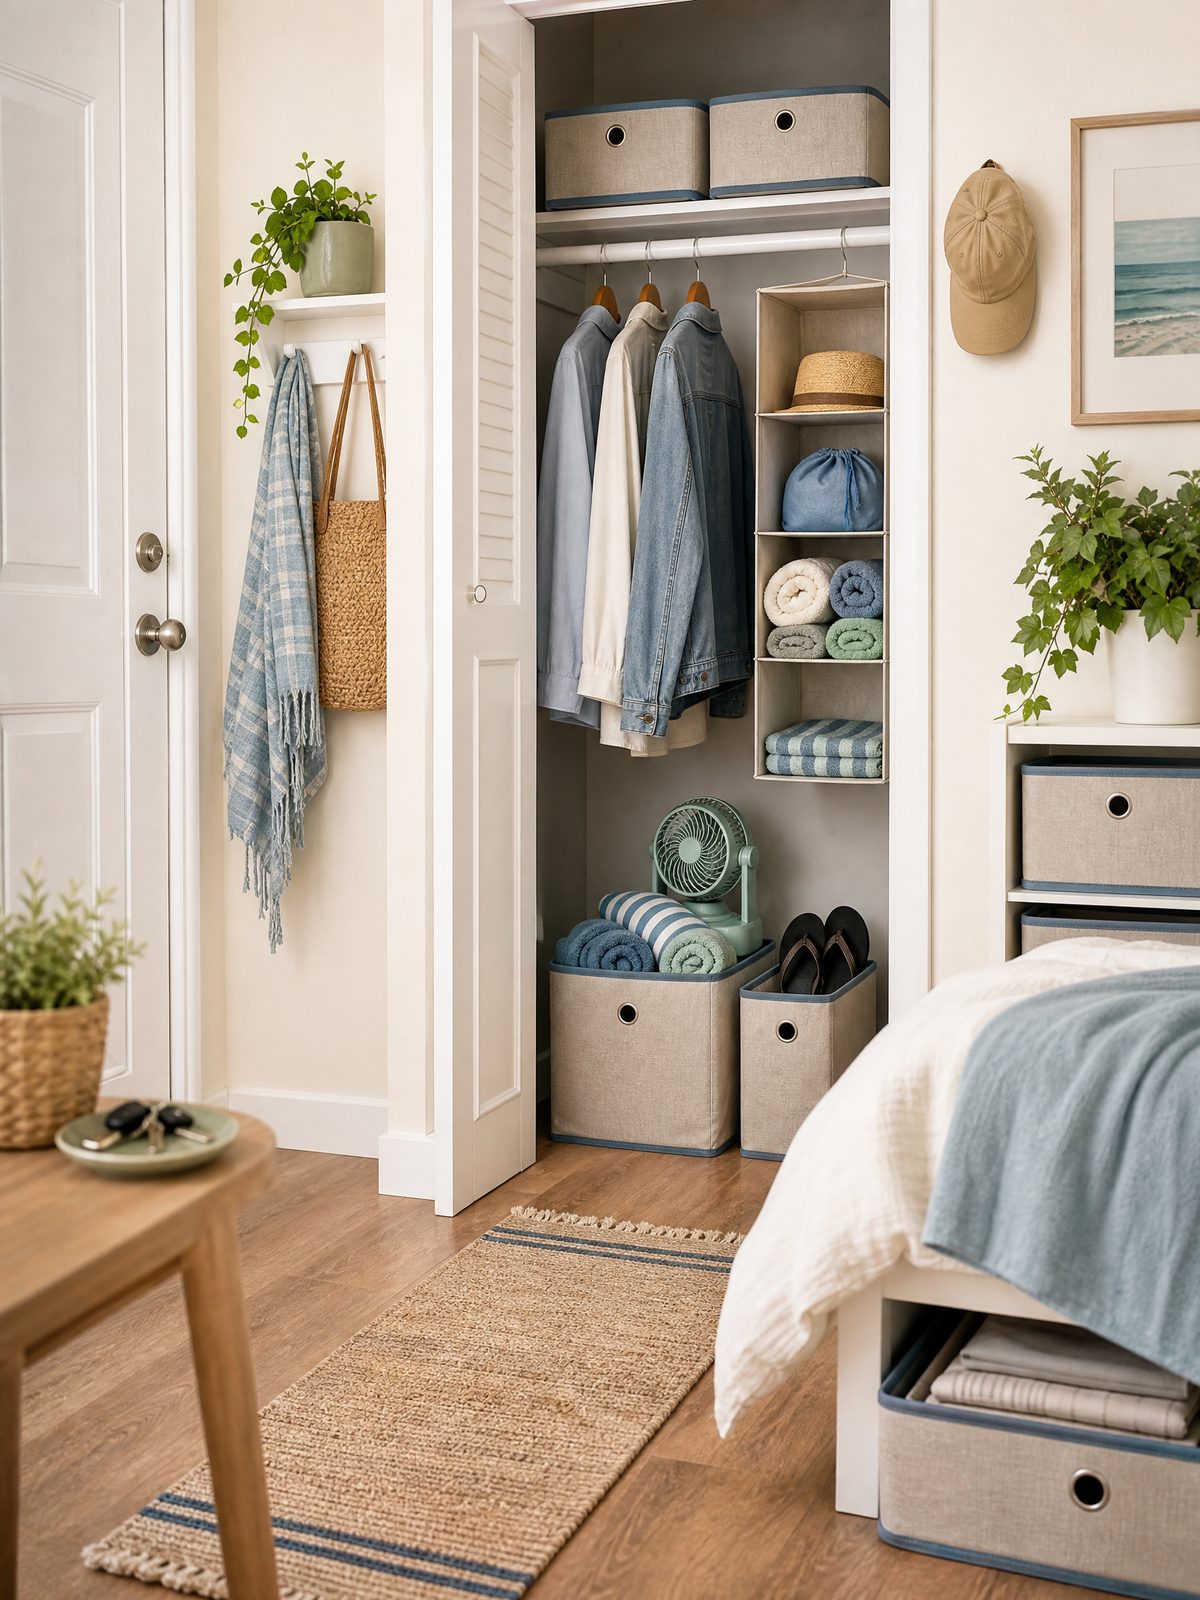
Living in a small apartment doesn’t mean you have to banish beach towels, picnic kits, or camping gear to overflowing corners. With a clear process you can keep summer essentials protected, easy to find, and out of the way until the next sunny weekend.
Use a simple sequence: clean items before you pack them, make sure everything is completely dry, contain gear in appropriate bins, label what’s inside, and rotate stock so items don’t sit forgotten. Below are practical steps, trade-offs to consider, and a concrete next step to get everything under control in one afternoon.
1. Start with a quick purge and plan
Before you move anything into storage, do a fast sweep. Set a timer for 30–45 minutes and lay out all summer gear in one spot. Keep only what you used or plan to use this season; toss or donate items that are stained, torn, or haven’t been touched in two summers. This upfront decision reduces the number of containers you need.
2. Clean and prep items
Cleaning first prevents odors, mildew, and pests. Salt, sunscreen, food crumbs, and dirt attract smells and damage fabrics over time. Wipe down hard items, launder towels and lightweight blankets, rinse sand out of buckets and toys, and brush off dirt from shoes. Allow time to air them out before packaging.
3. Dry thoroughly
Moisture is the enemy of stored gear. Even slightly damp fabrics or unvented containers can develop mildew in weeks. Let damp items dry completely in a breezy spot or near a dehumidifier if you have one. For anything that can trap moisture—like foam pads or insulated cooler liners—open them up or vent the container to avoid trapped humidity.
4. Contain and compress gear
Containment protects items and keeps them organized. Use stackable bins, breathable fabric bags, or vacuum-seal soft items if you need to compress bulky things. Keep heavier items at the bottom and frequently used items near the top for easier access. Clear or labeled containers help you identify contents without opening everything.
Soft items vs. hard items
Soft items (towels, blankets, inflatable pillows) benefit from breathable bags or vacuum compression if space is tight but consider the trade-off: compression saves space but can creases or damage delicate fibers over long periods. Hard items (coolers, chairs, grills) should be contained in a way that shields them from dust and prevents scratching—think padding between metal parts—and stacked to avoid shifting.
5. Label clearly
Labeling saves time and keeps frustration low. Use a consistent system: room-based (balcony, closet, under-bed), item-based (beach, picnic, camping), or frequency-based (frequent, seasonal, emergency). Put a short contents list on the outside and the month you stored it so you know when to check next.
6. Rotate and re-evaluate seasonally
Plan one rotation at the start and end of the season. Rotate means moving freshly used items back into ready spots and returning rarely used gear to long-term storage. That seasonal check is your chance to re-evaluate: mend, replace, or donate items that aren’t serving you anymore.
Storage location trade-offs
Choose storage locations based on access and climate. Under-bed space is great for low-frequency items but can be awkward for bulky gear; closet tops keep things out of sight but can be warm and compress soft items; wall hooks or a vertical rack save floor space but expose items to dust. If you use a balcony or shed, protect everything from weather and pests. Balance accessibility against space-saving—store the things you reach for most in the most accessible spots.
At-a-glance reference
| Item | Best short-term storage | Space-saving tip |
|---|---|---|
| Beach towels and blankets | Breathable fabric bag or open bin | Roll instead of fold; use under-bed trays |
| Camping gear | Sturdy bin with padding for fragile pieces | Store stakes and cords in labeled small bags |
| Cooler and picnic supplies | Shelved closet or top of wardrobe | Nest smaller items inside the cooler |
| Beach chairs and umbrellas | Vertical corner rack or tall bin | Disassemble poles and secure with straps |
Related guide: Under-Bed Storage: What to Store, What to Avoid, and How to Keep It Useful
Related guide: A Fall Apartment Reset Checklist Before the Busy Season
Trade-offs to acknowledge
Every choice has trade-offs. Vacuum-sealed bags maximize space but can make fabrics less plush and harder to air out; clear bins make identification easy but may be bulky; tightly packed bins save room but mean more lifting and shifting when you need something. Decide what matters most—easy access, maximum space savings, or best protection—and lean toward that priority when buying or repurposing containers.
Putting it into practice: a realistic process
- Set a 45-minute window and gather all summer items.
- Purge what you won’t keep, then clean and dry the rest.
- Group by use, choose containers, and place heavier bins low.
- Label each container with contents and storage month.
- Schedule a calendar reminder to rotate and inspect after four months.
Clear next step: pick one storage zone (under-bed, closet, or entryway) and complete the first three bullets in one session. That single success makes the rest easier.
Final thoughts
Storing summer gear in a small apartment is less about finding perfect containers and more about a repeatable habit: clean, dry, contain, label, and rotate. Once you adopt the routine, seasonal swaps take less time and your home stays functional year-round.
How often should I check stored items?
Inspect containers at least once every season. That’s the moment to air out fabrics, check for pests, and decide if anything should be replaced or donated.
Can I use vacuum bags for everything?
Vacuum bags are great for bulky, durable textiles but aren’t ideal for delicate fabrics or items that need loft. Consider leaving occasional breathable gaps so things can air when stored long-term.
Where’s the best place to keep frequently used items?
Store frequently used summer items in the most accessible spot you have—an entryway basket, a low closet shelf, or a small open bin—so you don’t have to unpack long-term storage every time you head out.
Sources and fact-checking
This article provides practical editorial guidance. Safety, cleaning, disposal, rental, and product decisions can depend on the item, its instructions, and local requirements.
- U.S. Consumer Product Safety Commission — Anchor It! — For furniture, TV, or elevated-storage safety, follow product instructions and secure top-heavy furniture where appropriate.
Fact-checked against the linked official resources on August 27, 2026.