A Move-In Photo Organization System for Renters
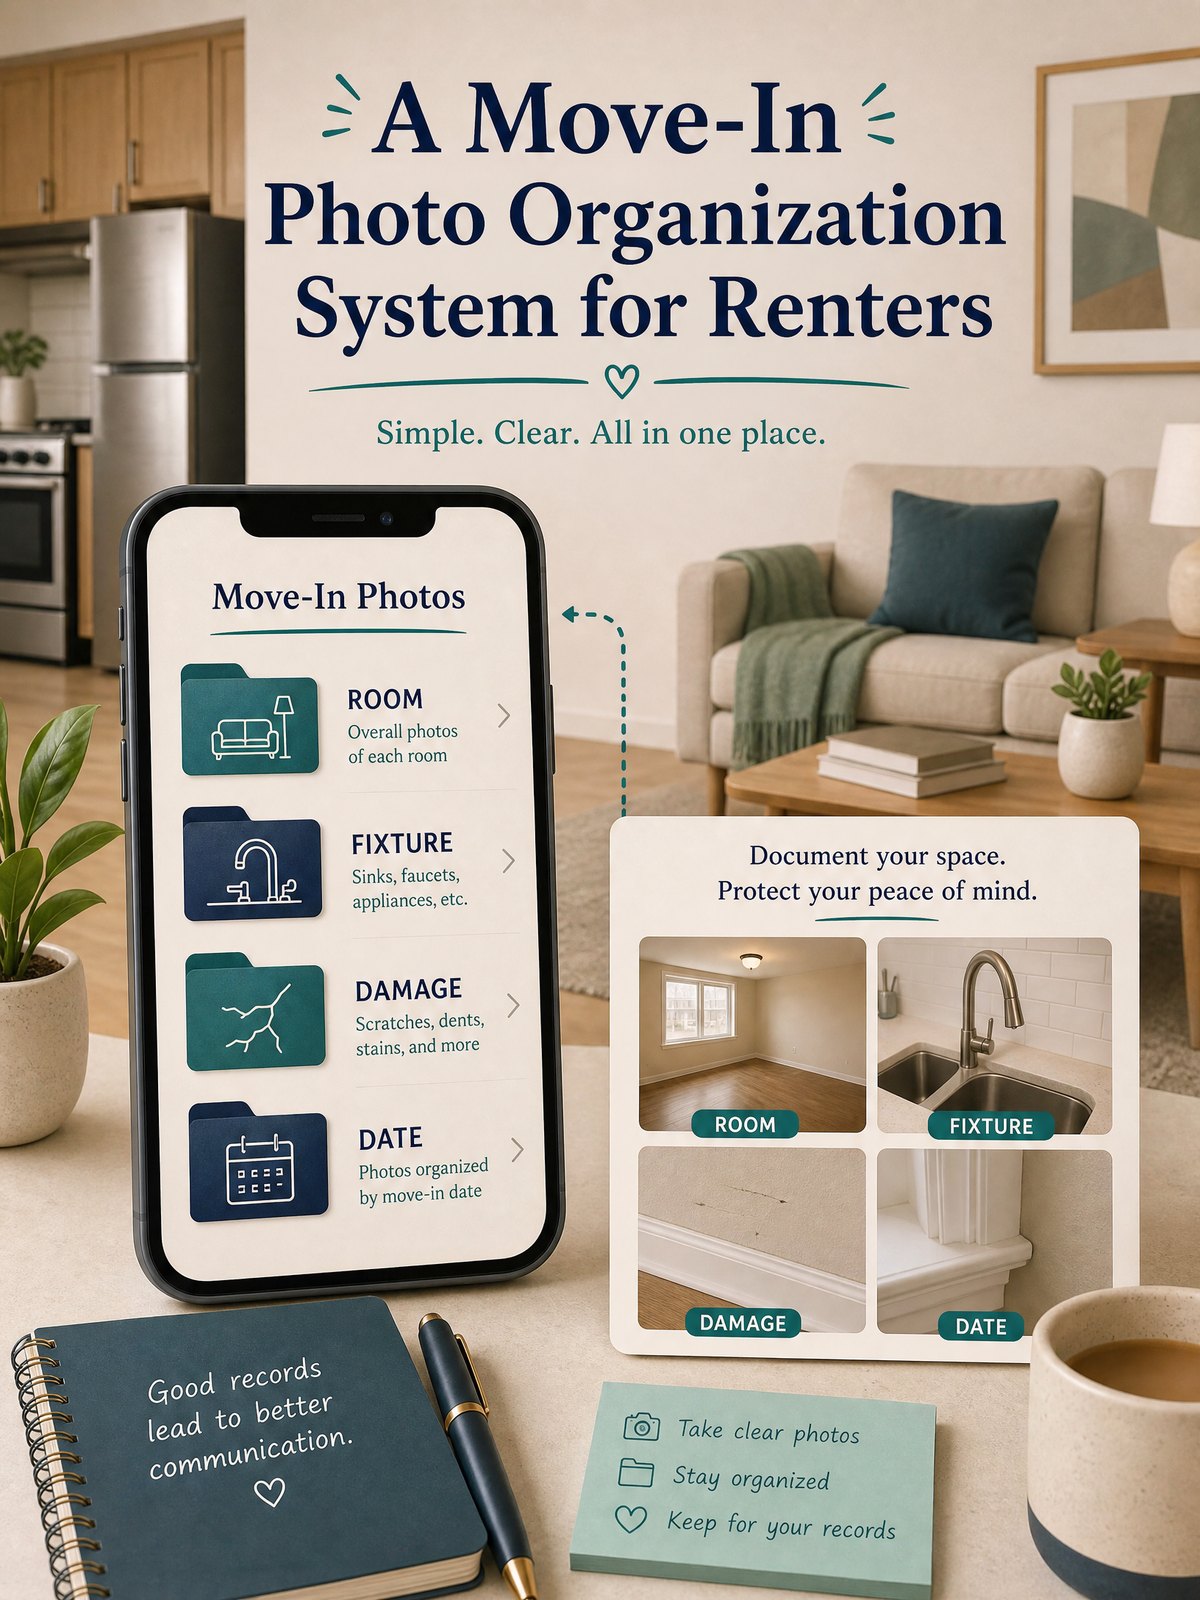
Moving into a rental comes with a small but important problem: you need a simple way to prove the condition of the place on day one. Without dated, labeled photos and an easy-to-find copy, small damages can become large disagreements later.
This article shows a renter-friendly system to capture clear, dated photos; label rooms and items; and keep accessible copies for your records. The method is designed to be low-cost, easy to maintain, and ready to produce if you need to reference move-in condition or compare later.
Start with the real constraint
Your real constraint isn’t technology or storage space — it’s time and clarity. When you first walk through the unit you usually have limited time, boxes to move, and a mental checklist. That makes it easy to skip photos or save images with vague filenames that are useless in a dispute.
A practical system focuses on three realities: capture usable proof quickly, attach an explicit date and room label to each image, and store at least two accessible copies (one local and one offsite or in the cloud). As a planning note: confirm any documentation requirements in your lease and follow any instructions your landlord or property manager gives about reporting damage.
At-a-glance plan
| Step | When | Decision signal |
|---|---|---|
| Photo sweep of every room and visible fixtures | Move-in walkthrough (before furniture goes in) | Start if new keys or lease signed and unit empty |
| Tag photos with room name and date | Immediately after each room sweep | Stop when all rooms and obvious damage are tagged |
| Save two copies: local and offsite/cloud | Within 24 hours of the sweep | Complete when both copies open and readable |
| Create a one-page move-in summary | Same day or next day | Done when summary lists rooms, dates, and any reported items |
Build the system step by step
- Set a short window: block 30–45 minutes for an empty-unit photo sweep. Carry your phone, a small flashlight, and a portable charger. If you can’t do this on move-in day, schedule the sweep for the next morning before placing large furniture.
- Follow a consistent pattern: start at the entry and take a long shot of each room, then 2–4 detail shots of appliances, fixtures, walls, flooring, window seals, and any pre-existing stains or scratches. Use the flashlight for shadowed corners.
- Label immediately: rename or tag each photo with the date and a short room label such as “2026-08-27_LivingRoom_WindowStain”. If your phone camera app supports titles or captions, add the room and brief description there. If you prefer not to rename files, keep a numbered list that maps filenames to room labels and descriptions.
- Make two accessible copies: save one copy in a clearly named folder on your device and another copy to a cloud folder or secure emailed archive you can access later. As a personal planning approach, consider printing one sheet that lists the photos and dates and keeping it with your move-in receipts.
- Log and, if required, report: prepare a one-page move-in summary with the lease start date, the rooms inspected, notable issues, and links or filenames for the photos. Submit this summary to your property manager or landlord following the reporting instructions in your lease or their preferred process.
These five steps create a compact record you can use for a security-deposit conversation or insurance reference. Remember to follow any specific reporting method your lease or manager requires; the suggestion to email or upload photos is a practical option, not a substitute for following the lease.
Trade-offs to consider
No system is perfect; choose the one that balances speed and clarity for you.
- Speed vs. detail: spending more time yields better proof, but a quick complete sweep is usually more valuable than a slow, partial one.
- Local control vs. offsite safety: keeping files only on your phone is fastest, while cloud copies protect against device loss but require choosing a secure service.
- Low tech vs. structured files: a printed one-page summary is easy to share in person; structured folders and filenames are better for formal disputes and long-term access.
Keep it workable
After the initial setup, maintain the system by adding incremental updates: photograph new damage if it happens, and update your summary when you notice issues. Aim to review and refresh the cloud copy once every six months or after any major repair. If you move out, create a final photo set to compare against move-in records. For any questions about what your lease requires for reporting or timelines, follow the lease language and confirm with your property manager or local authority as needed.
FAQ
How many photos per room are enough?
Practical guidance: at least one wide shot to show the whole room and two to four detail shots of fixtures, appliances, flooring, and any blemishes; more if a room has many fixtures or damage. This is a planning approach to ensure clarity rather than a strict rule.
What if the landlord or manager refuses to accept emailed photos?
Follow your lease and their instructions. If they require an online portal, upload to that portal and keep confirmation receipts. If you must deliver a paper copy, print the one-page summary with labeled photo contact points as a practical option.
Where should I store the offsite copy?
Choose a reliable cloud folder or an emailed archive you can access later; having a second copy outside your device protects you if your phone is lost or damaged. Ready.gov advises organizing critical household, insurance, financial, and medical records before an emergency and safeguarding them in a secure accessible location, which is a useful principle to follow when deciding where to store important tenant records.
Next steps: block time on move-in day (or the next morning) for a full sweep and create your one-page move-in summary. Keep copies accessible, and review reporting instructions in your lease so you follow required procedures.
Sources and fact-checking
This guide provides practical editorial guidance. Requirements and safe choices can depend on the product, lease, local rules, and individual situation.
- Ready.gov — Financial Preparedness — Ready.gov advises organizing critical household, insurance, financial, and medical records before an emergency and safeguarding them in a secure accessible location.
Fact-checked against the linked official resources on August 27, 2026.