
How to Pack a Kitchen for Moving Without Breaking Essentials
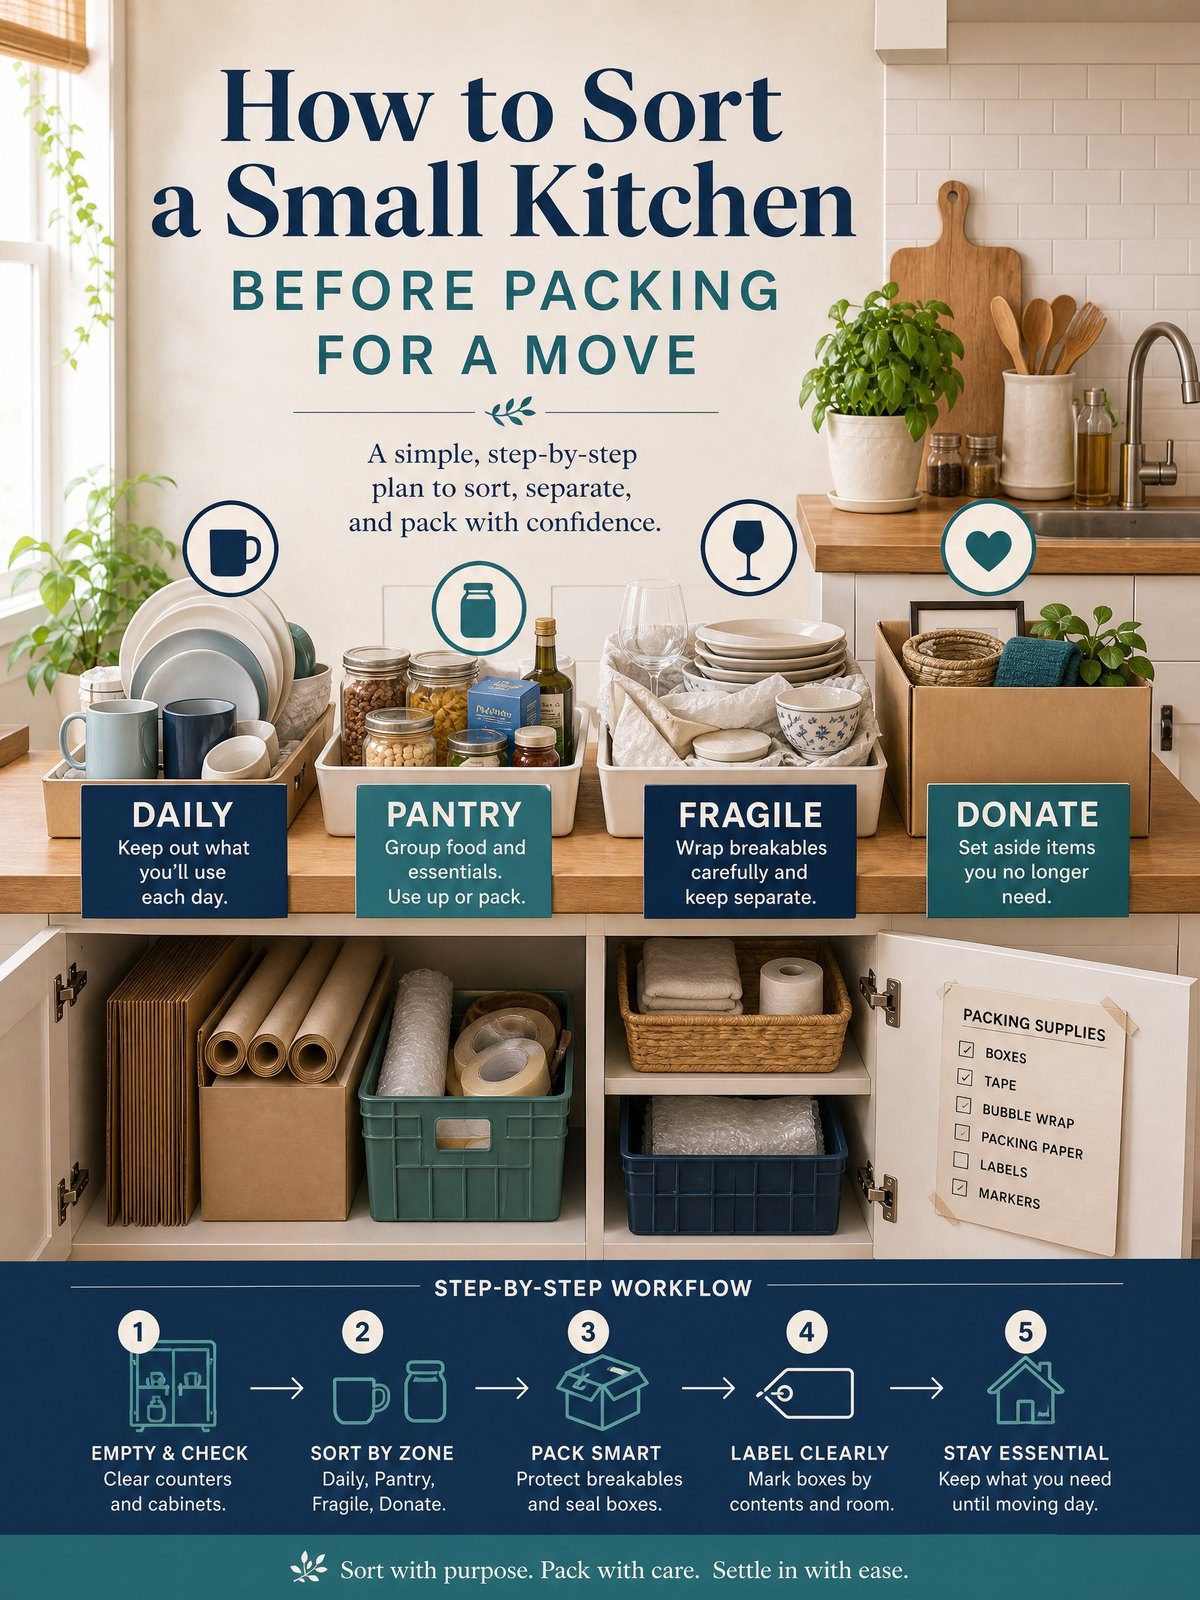
This guide focuses on how to pack a kitchen for U.S. renters and small-home movers, with a practical system for choosing what to buy, what to prepare, and what to verify before moving day.
Sorting a small kitchen before a move is less about ruthless downsizing and more about placing items into clear outcome lanes: things that travel with you, things you’ll need first in the new kitchen, and things that require safe disposal or donation. With limited boxes and limited time, a simple decision flow prevents last-minute chaos and wasted effort.
This article gives a compact system you can use in a tiny kitchen: a practical constraint to start from, an at-a-glance packing plan, step-by-step actions, trade-offs to weigh, and quick answers to common questions. Follow product labels, your lease, and local disposal rules where noted.
Start with the real constraint
In a small kitchen the real constraint is physical space — not just the cabinets, but the flat surfaces and the boxes you can realistically move. Count how many boxes, bags, and the size of your car or van space before you label anything “keep.” That gives you a practical cap on how much can travel.
Another core constraint is perishability and safety. Perishable food and certain household chemicals cannot simply sit in a moving box for days. Use the FoodSafety.gov cold storage guidance as the official reference for how long refrigerated and frozen items are safe to keep; plan to consume, donate, or discard perishable items according to that chart and local waste rules.
At-a-glance plan
| When to decide | Decision signal | Action |
|---|---|---|
| 6+ weeks before move | Boxes and vehicle capacity counted | Set a target item count per box; earmark bulky items to move or sell |
| 3–4 weeks before | Perishables start approaching FoodSafety.gov storage limits | Plan meal-by-meal consumption, donate unopened shelf-stable items, or discard per guidance |
| 1–2 weeks before | Items you use daily | Pack a first-day box with essentials you’ll need on arrival |
| Final 48 hours | Remaining food and hazardous products | Follow labels and local rules for disposal; keep what must stay refrigerated until moving |
Build the system step by step
- Inventory and cap: Walk through cabinets and fridge with a simple tally: travel, first-day, donate, dispose. Use your box/vehicle count as the cap for “travel.”
- Design the first-day box: Choose cookware, utensils, a pot or pan, basic plates, a cutting tool, a dish towel, and any small appliance you’ll use immediately. Label it clearly.
- Handle perishable food next: Match remaining refrigerated and frozen items to the FoodSafety.gov storage guidance and schedule meals or donations so you don’t move unsafe food.
- Gather hazardous or special-disposal items: Look for paints, aerosols, cleaners, oils, batteries, and pesticides. Follow product labels and arrange disposal per local collection guidance; the EPA provides an overview that these products often need special handling.
- Pack by use and weight: Put heavy, nonfragile items in small boxes; wrap fragile items. Keep frequently used items together and mark boxes with both contents and the room where they belong.
These steps flow from the constraints: inventory to respect your cap, then prioritize perishable and essential-use items, then clear out special-disposal materials. Labeling and a single first-day box reduce friction at the new place.
Trade-offs to consider
Every small-kitchen move involves choices about time, cost, and convenience. Be explicit about which you prefer for each category.
- Packing more saves replacement cost but increases move volume and may require extra trips.
- Donating or discarding food before moving reduces waste but means buying replacements soon after arrival.
- Keeping hazardous items to move might seem simpler, but local rules or building policies could prohibit transporting or storing them — verify labels and local collection rules.
Keep it workable
Maintain the system by using a single checklist (inventory cap, first-day box, perishables list, hazardous list) and updating it in short daily sessions. Small, repeated edits are easier than one marathon sorting day. In a tiny kitchen, clear counter space each evening so the next session starts clean.
How to Pack a Kitchen by Risk and Frequency
If you are deciding how to pack a kitchen, do not begin with the nearest drawer. Start with fragile items, sharp tools, temperature-sensitive food, liquids, and heavy cookware. Each category has a different packing risk, so treating the entire kitchen as one project usually creates overloaded boxes and poorly protected essentials.
Use small sturdy cartons for dishes, canned food, and cast iron. Wrap plates individually and place them vertically with cushioning around empty space. Protect knife blades with fitted guards, folded cardboard secured around the blade, or another rigid cover, then label the package clearly. Never leave loose blades in a utensil box. Keep cleaning chemicals upright, labeled, and separate from food.
Plan the final meal and the first meal
Check refrigerated and frozen food early enough to use, donate where accepted, or discard items safely. FoodSafety.gov provides current cold-storage guidance, but transportation time and temperature control still matter. Pack one open-first kitchen carton with a pan, plate, cup, utensils, dish soap, towel, and basic food-prep item. For fragile details, use the dish-packing guide. The move-in cleaning kit keeps cleaning products separate from the food box.
Photograph appliance cords before disconnecting them and place small parts in labeled bags attached to the appliance. Finish with a written last-box list so keys, medication, chargers, and lease records do not disappear into the kitchen load.
FAQ
What should go in the first-day box?
Include the smallest set that lets you feed yourself and clean a few items: one pot or pan, a skillet or multiuse pot, a set of utensils, one sharp knife, two plates and bowls, a dish towel, a sponge, a small cutting board, and any medications or device chargers you’ll need in the first 24 hours.
How do I decide which appliances to keep with limited moving space?
Prioritize appliances you use at least weekly and that would cost more to replace than to move; alternatively, choose a personal planning approach: keep one multiuse appliance and sell or donate singles that duplicate functions.
How should I dispose of old paint, batteries, or leftover cleaners?
These products can need special disposal. Follow the product label and check local collection or hazardous-waste guidance; the U.S. EPA notes that paints, cleaners, oils, batteries, and pesticides often require special handling and advises using local collection services.
Now pick one small zone (a single cabinet or the top shelf of the fridge) and apply the system in one focused 30–45 minute session. If anything requires local disposal rules, contact your municipality or landlord to confirm the best next step.
How early should I start packing a kitchen?
Begin with seasonal cookware, duplicates, serving pieces, and rarely used appliances one to two weeks ahead. Leave a minimal daily set and the open-first kitchen box until the final day.
Sources and fact-checking
This guide provides practical editorial guidance. Requirements and safe choices can depend on the product, lease, local rules, and individual situation.
- FoodSafety.gov — Cold Food Storage Chart — FoodSafety.gov provides food-specific refrigerator and freezer storage guidance and directs readers to use the official chart for details.
- U.S. Environmental Protection Agency — Household Hazardous Waste — EPA notes that products such as paints, cleaners, oils, batteries, and pesticides can need special disposal care, and advises following labels and local collection guidance.
Fact-checked against the linked official resources on November 1, 2026.