How to Pack Dishes for Moving in a Small Apartment
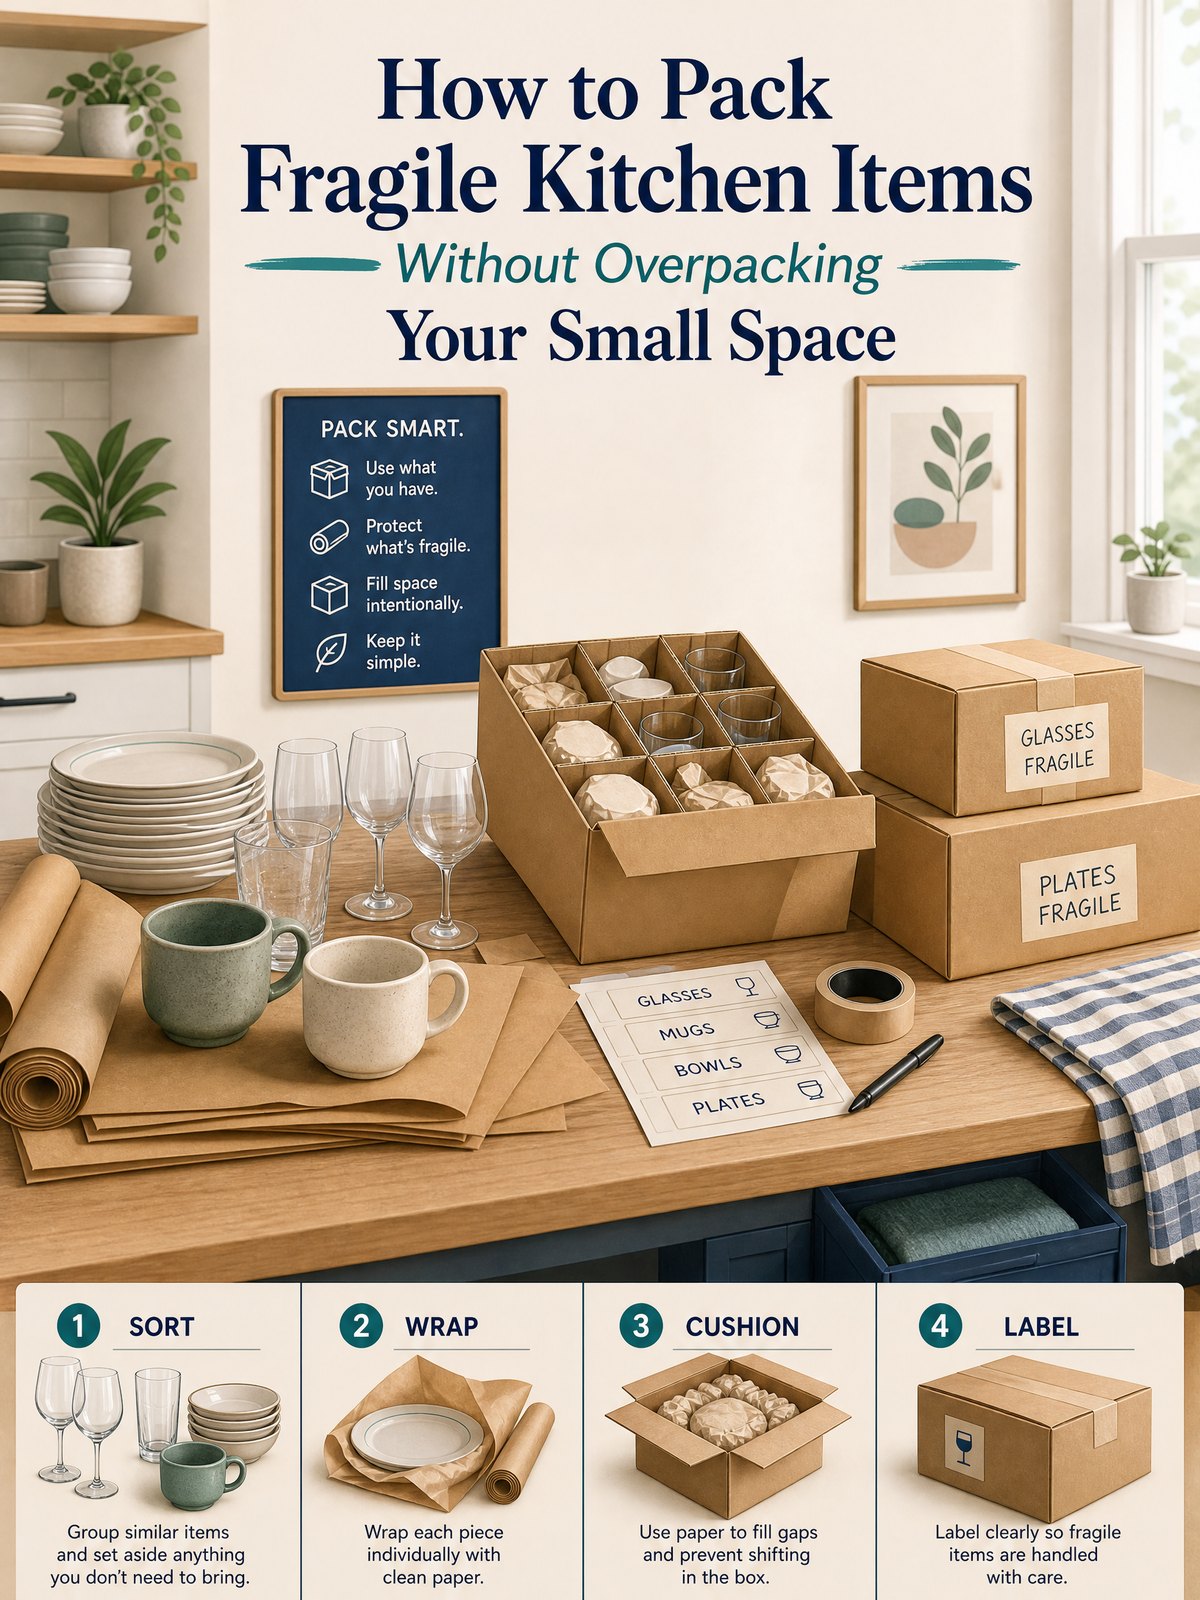
How to pack dishes for moving in a small apartment comes down to three decisions: use a box you can lift safely, wrap each breakable so hard surfaces do not touch, and fill empty space so the contents cannot shift. You do not need to cover the entire room with supplies or buy a specialty kit for every plate.
This guide shows how to match boxes and padding to the item, pack one compact work zone at a time, and decide when specialty materials or professional help are worth the cost.
Quick answer: choose stability before box size
Use a clean, undamaged box with firm walls and a bottom that can be securely taped. Keep plates together by size, wrap them individually, place them on edge rather than flat, and fill every gap with clean paper, foam, bubble wrap, or soft linens. Glasses and mugs need padding inside their hollow spaces as well as around the outside. If the box feels awkward before it is full, stop and start a second box instead of forcing more weight into the first.
Lowe’s updated dish-packing guide recommends sturdy boxes, packing paper or foam, bubble wrap, tape, and markers. It also advises leaving room around dishes for protective padding, filling voids, sealing the box, and clearly marking fragile contents. Those principles matter more than buying the largest box on the shelf.
Dish packing box or regular moving box?
A specialty dish box is not automatically the right answer for every small-space move. It uses more floor area and may encourage you to create one very heavy container. A smaller standard box is easier to stage in a studio, carry through a narrow hallway, and unpack in short sessions. The comparison below helps you spend where protection matters.
| Option | Best for | Main advantage | Trade-off |
|---|---|---|---|
| Small sturdy moving box | Everyday plates, bowls, and mugs | Easier to lift and stack in a tight apartment | Needs careful wrapping and complete void fill |
| Heavy-duty dish-pack box | Large dish collections and mixed kitchen breakables | More room for layered cushioning and inserts | Can become bulky or too heavy if overfilled |
| Cell-divider kit | Stemware, glasses, and similarly sized cups | Keeps individual pieces in separate compartments | Works only when the cells fit the items and all gaps are padded |
| Reusable plastic tote | Short local moves when the tote closes securely | Resists moisture and can be reused for storage | Smooth walls still require cushioning; an overfilled tote is difficult to handle |
| Professional fragile-item packing | High-value, sentimental, or unusually shaped pieces | Transfers the packing task to a trained service | Adds cost and requires careful review of the estimate and damage terms |
Buy only the supplies your dishes actually need
Sort first into everyday dishes, glasses, delicate pieces, and sharp or heavy tools. That shows where basic paper is enough and where dividers or foam may be justified.
- Boxes: Choose boxes without crushed corners, soft bottoms, stains, or tears. Use smaller boxes for dense ceramic pieces and reserve larger containers for lighter items.
- Wrapping material: Clean packing paper is easy to fold around plates and bowls. Foam or bubble wrap is useful for thin rims, handles, lids, and sentimental pieces. Clean dish towels can fill larger gaps, but they should not replace individual protection for delicate glass.
- Void fill: Crumpled paper, clean towels, or other nonabrasive material should prevent side-to-side and up-and-down movement.
- Tape and labels: Reinforce the bottom seams, close the top completely, and write the destination room, contents, and “FRAGILE” on more than one side.
If you still need to plan the rest of the room, use our small-kitchen moving order to decide what leaves the cabinets first. Keep the dish project narrow so your only clear counter does not disappear under supplies.
How to pack dishes for moving, step by step
1. Build one compact packing station
Clear one table or counter and place the empty box on the floor beside it. Keep paper, tape, a marker, and the dish category within reach. Do not open every cabinet at once. In a studio or small apartment, the most efficient sequence is one cabinet, one box, and one cleanup pass before moving to the next category.
2. Reinforce and cushion the box
Tape the bottom seam and any weak edges. Add a generous, even cushion across the base so no dish will rest directly on bare cardboard or plastic. Test the base by pressing gently with your hand; thin spots should be filled before the first item goes in.
3. Wrap plates and stand them on edge
Place one plate near the center of a sheet of clean packing paper, fold the paper over the plate, and cover the rim. Repeat for each plate so ceramic surfaces do not rub together. Arrange wrapped plates vertically, like records, with cushioning between the group and every box wall. Avoid a loose row that can lean or collapse when the box is carried.
4. Pack bowls in protected groups
Wrap bowls individually, paying attention to rims and handles. Bowls may nest only when each piece is separated by padding and the nested group is wrapped again. Do not force a larger bowl over a smaller one. If the stack rocks on the table, it will also move inside the box.
5. Keep glasses and mugs upright
Fill the inside of each glass or mug with clean paper, wrap the outside, and protect handles and stems with extra material. Place glasses upright rather than on their sides. A divider kit can simplify spacing, but the divider itself is not cushioning; add padding wherever glass could touch cardboard or another item.
6. Separate knives, lids, and heavy cookware
Do not mix exposed blades with dishes. Use blade guards when available, or wrap each knife securely so the tip and edge cannot cut through the package, then label the bundle. Wrap glass lids separately and keep heavy pans from pressing against breakables. Dense cookware generally belongs in its own smaller box.
7. Fill gaps and test for movement
Before sealing, add padding to the sides and top. Close the flaps without crushing the contents, then gently move the box a short distance. If you hear or feel shifting, reopen it and add fill. The goal is a stable box, not a box packed to maximum capacity.
8. Label for the person who will carry it
Write “KITCHEN,” a short contents list, “FRAGILE,” and an arrow if orientation matters. Mark the top and at least one side because stacked boxes can hide a single label. Keep one clearly separate box for the first meal and cleanup supplies; our open-first kitchen box guide explains what belongs there.
How to avoid overpacking a small apartment
Pack low-use serving pieces first, then reassess how much paper and how many boxes remain. Use clean towels for broad cushioning, reserve purchased material for fragile surfaces, and keep completed boxes against one wall.
Do not combine “use every inch” with “use one giant box.” A box can be full of padding and still be sensible; a box can also be half full of dense dishes and already be difficult to carry. Let safe handling determine when a box is finished. This may create one more box, but it reduces the chance that a heavy container is dropped or that lower pieces are crushed.
When professional packing may be worth the cost
Professional or partial packing may be worth pricing for valuable china, large stemware collections, or hard-to-replace pieces. Ask whether materials and unpacking are included and how damage is documented.
For an interstate move, the Federal Motor Carrier Safety Administration advises consumers to obtain estimates from at least three movers or brokers, verify FMCSA registration and a U.S. DOT number, understand responsibility for damage, and review the estimate, bill of lading, and inventory. Those checks are more useful than choosing a company only because it promises “fragile-item expertise.”
Common mistakes and practical trade-offs
- Buying a specialty kit for everything: It is convenient, but ordinary sturdy boxes may be sufficient for durable everyday dishes.
- Relying on towels alone: Towels are useful void fill, but thick folds can create unstable pressure points around thin glass or delicate rims.
- Leaving empty space: A carefully wrapped plate can still break if the whole bundle slides across the box.
- Making boxes too heavy: Fewer boxes sound efficient until one cannot be carried comfortably through a doorway or down stairs.
- Mixing knives with breakables: Sharp items can damage wrapping, cardboard, and anyone who opens the box without warning.
- Forgetting the unpacking order: Labeling by cabinet and priority prevents every dish box from being opened on the first night.
FAQ
Do I need special dish packing boxes?
No. A sturdy small or medium moving box can work for everyday dishes when the bottom is reinforced, every piece is wrapped, and all gaps are filled. A dish-pack box or divider kit is more useful for large collections, stemware, delicate pieces, or items that will be handled several times.
Is packing paper or bubble wrap better for dishes?
Packing paper is efficient for wrapping ordinary plates, bowls, and mugs and for filling gaps. Bubble wrap or foam adds protection around thin rims, handles, stems, and sentimental pieces. Many moves use both: paper for most surfaces and added cushioning only where breakage risk is higher.
Can I use towels and clothes instead of packing paper?
Clean soft goods can cushion box walls and fill larger spaces, which reduces the amount of material you buy. They are less convenient for small gaps and may create uneven pressure if folded thickly. Wrap delicate pieces individually before using towels as the outer cushion.
Should plates be packed flat or vertically?
Pack individually wrapped plates vertically on their edges, with padding beneath, between, around, and above them. Make sure the row cannot lean or shift. Do not leave plates directly against a box wall.
Final check before the box leaves your kitchen
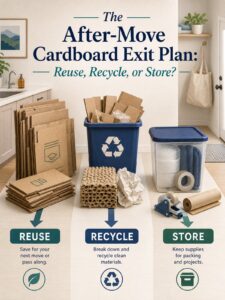
Confirm that the bottom is taped, the contents do not move, knives are separate, the box is comfortable to lift, and labels are visible. Set the finished box in one designated area and clear the packing station before opening the next cabinet. After the move, reuse suitable boxes or follow local recycling rules; if the pile is larger than your building can handle, compare the options in our cardboard pickup and moving-box recycling guide.
Sources and fact-checking
Product options, service terms, and local disposal rules can change. The packing and mover-selection guidance below was checked on October 27, 2026.
- Lowe’s — How to Pack Dishes for Moving — Updated July 29, 2026; current guidance on supplies, wrapping, box preparation, void fill, glassware, knives, sealing, and labeling.
- Federal Motor Carrier Safety Administration — Moving Checklist — Official interstate-mover checklist covering estimates, registration, damage responsibility, inventories, and moving documents.