
Donation Pickup Before Moving: What Services Take and How to Prepare
This guide focuses on donation pickup for U.S. renters and small-home movers, with a practical system for choosing what to buy, what to prepare, and what to verify before moving day.
Moving compresses time and space: you must decide quickly which things are worth packing, donating, recycling, or disposing. The wrong choice can mean hauling unwanted items to a new place or missing an easy pickup or donation window.
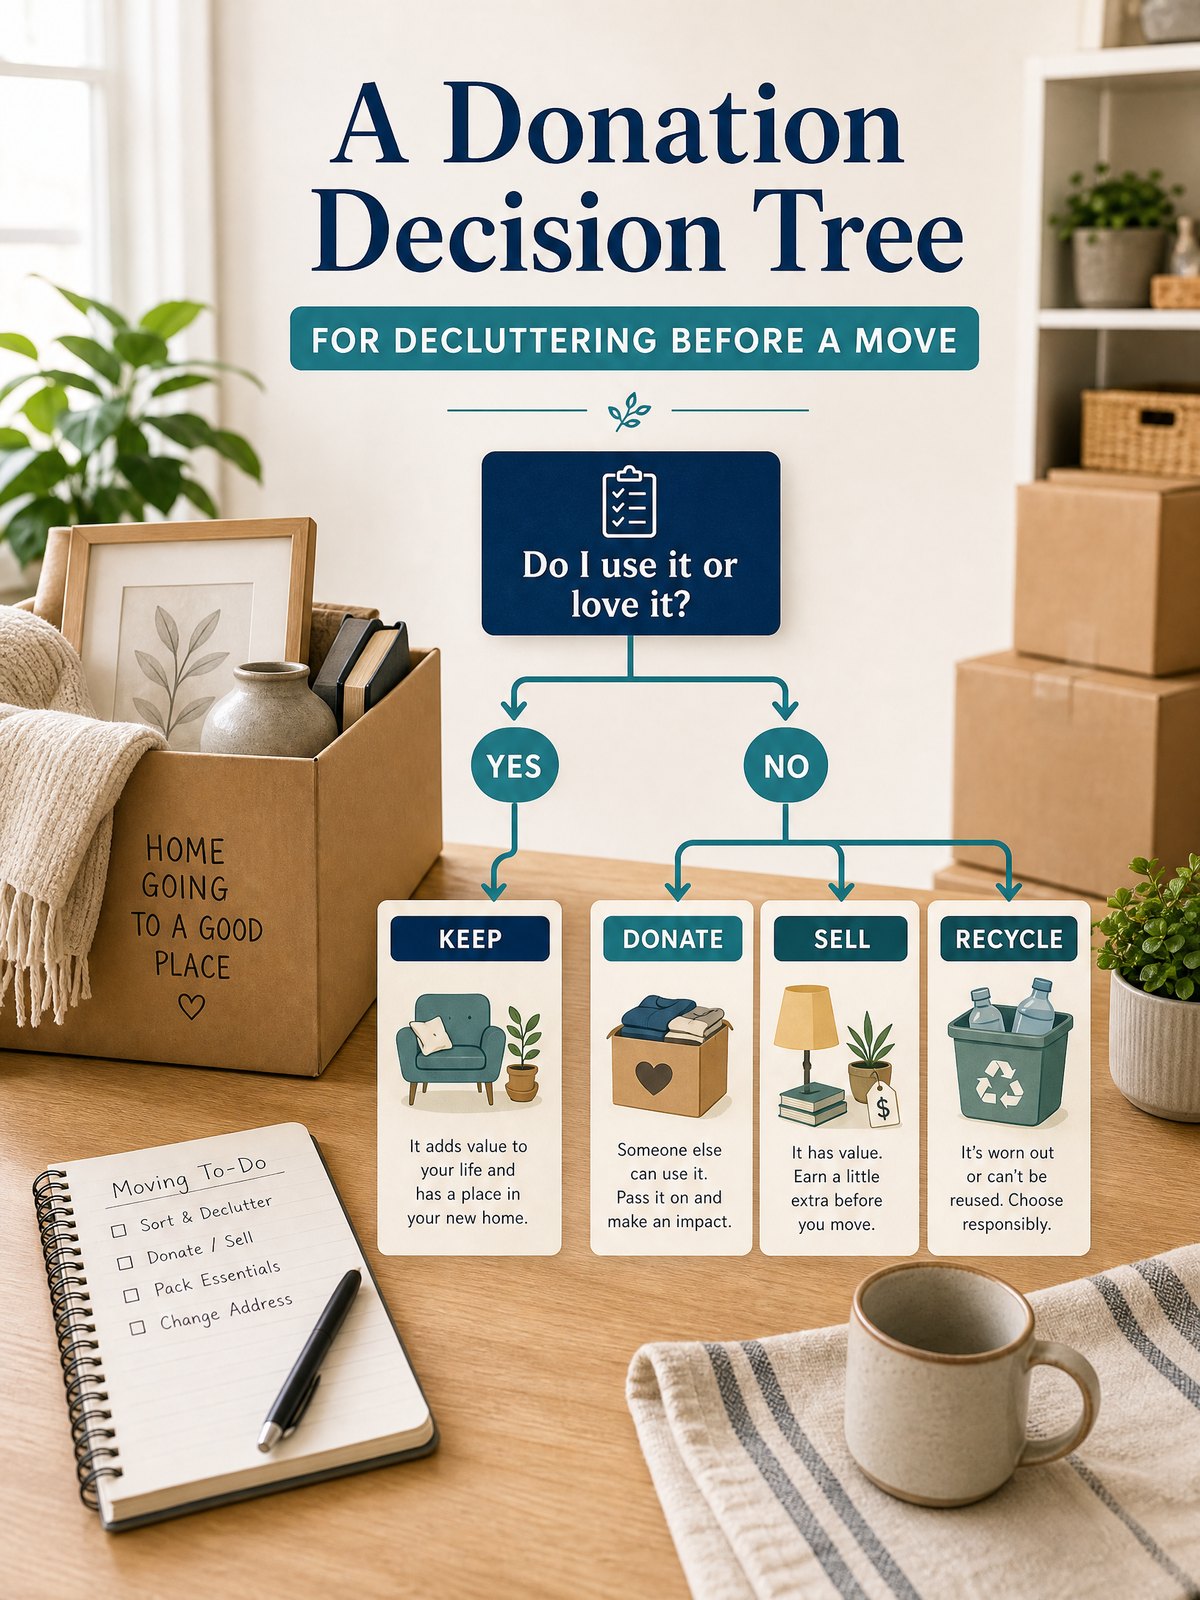
This article gives a simple decision tree you can use during a move to separate genuine donations from recycling, waste, and items that need local guidance. It focuses on fast signals you can check in a small apartment and practical next steps you can follow before the moving truck arrives.
Start with the real constraint
Your real constraint is not sentimental value — it is time, transport capacity, and the recipient’s acceptance rules. Charities, shelters, and resale shops often have limited space and specific intake lists; a full box of unusable or soiled items costs them time. Likewise, municipal recycling or hazardous-waste programs have schedules and rules that affect whether an item can be dropped off before your move.
Before deciding, confirm one logistical fact: can you physically get the item to the donation point before the move? If you need a large vehicle or a scheduled pickup, that changes whether donation is realistic. As a practical option, assemble a shortlist of local places and their acceptance windows so you can match items to timelines.
For potentially hazardous products, follow the official guidance: “products such as paints, cleaners, oils, batteries, and pesticides can need special disposal care,” and you should follow the product label and local collection guidance. When in doubt about disposal or lease rules, check your lease, the product label, or local authority guidance before acting.
At-a-glance plan
| Decision point | Quick test | Action | Timing |
|---|---|---|---|
| Clean and working small items | Function check and no stains or odor | Box for donation and label; contact recipient if bulky | Drop off or schedule pickup within 1–2 weeks |
| Textiles with minor wear | No holes, persistent odor, or heavy staining | Wash, fold, and place in clear bag for donation or textile recycling | Wash and sort within 3–5 days |
| Large furniture or electronics | Measure doorways and test functionality | Contact nonprofit or resale shop to confirm pickup or acceptance | Arrange pickup at least 7–14 days before move |
| Suspect hazardous items | Check label for hazard symbols or warnings | Follow the product label and local hazardous-waste collection guidance | Verify collection dates or drop-off windows immediately |
Build the system step by step
- Make three clearly labeled staging areas: Donate, Recycle/Reuse, and Dispose. Use boxes or large reusable bags so items move quickly.
- Quick-scan each room for obvious donations first: intact cookware, small furniture, clean clothing, and functioning electronics. As a practical option, set a two-minute checklist per room to avoid overthinking.
- Measure and weigh borderline items (furniture, appliances). If transporting them yourself is impractical, call intended recipients before listing them for donation.
- Group hazardous or unclear items separately and read product labels. Follow the product label and consult local collection guidance for disposal; do not mix these with donation boxes.
- Schedule drop-offs or pickups and label boxes with contents and the intended recipient. If a donation opportunity falls through, have a fallback recycling or disposal plan verified with your local authority.
These steps prioritize speed and clarity: stage everything visibly, make quick condition calls, and line up transport or pickups before the move date. The separate hazardous-items pile prevents last-minute confusion about paints, cleaners, or batteries and keeps you aligned with local disposal requirements.
Trade-offs to consider
Not every item has obvious value, and each choice carries a trade-off between effort, cost, and the likelihood of acceptance.
- Time vs. value: Spending extra time cleaning or repairing items can increase donation value but costs hours you may not have.
- Transport vs. acceptance: Bringing large items to a donation center yourself saves pickup fees but may not be possible without a vehicle.
- Immediate disposal vs. delayed donation: Waiting for a scheduled pickup may keep an item out of your move, but you risk missed windows — a personal planning approach is to set a hard deadline three days before your move to decide.
Keep it workable
Maintain the system by handling donation boxes in small batches: finish one box completely (label, tape, and list contents) before starting the next. Keep a running checklist on your phone of scheduled pickups, drop-off confirmations, and who you contacted. That way, when movers arrive you have only packed items left and a clear set of boxes ready for handoff.
Book Donation Pickup Before the Final Moving Week
Donation pickup can save loading time, but it is not a guaranteed removal service. Charities and reuse organizations set local acceptance rules based on condition, demand, safety, and storage capacity. Contact the specific branch, describe large items accurately, and confirm whether the crew enters the home or requires curbside or lobby staging.
Separate donations from recycling, hazardous waste, and paid junk removal. Clean usable items, assemble hardware in a labeled bag, and create a simple inventory before the pickup. Do not leave goods outside without permission. Weather, building rules, and missed appointments can turn a donation pile into a moving-day obstacle.
Keep records without estimating a tax result
Ask for a receipt and record the organization, date, and items given. IRS rules govern whether a contribution is deductible and what documentation is required. A pickup driver generally does not assign the value for you. Check the organization in the IRS Tax Exempt Organization Search and consult current IRS guidance rather than assuming every pickup creates a deduction.
Use the furniture removal guide for items a charity cannot accept, and the electronics recycling guide for devices that need a separate outlet. Schedule a backup disposal plan so rejected items do not remain after you return the keys.
FAQ
How do I decide if clothing is good enough to donate?
As a practical option, favor items that are clean, free of holes, and odor-free; wash and repair small damages when it’s quick to do so, and otherwise recycle textiles or ask local centers what they accept.
What should I do with broken electronics?
Do not place broken electronics with donation boxes unless a recipient explicitly accepts them for parts; a personal planning approach is to check for e-waste collection dates or manufacturer take-back options and to remove personal data before handing anything over.
Can I leave items outside for charity pickup if I’m short on time?
Many organizations have specific rules about leaving items curbside; check with the charity first and verify local pickup rules, and never leave items in shared building spaces without landlord approval or against your lease.
Pick one room to finish first and confirm the first few drop-off or pickup appointments now. If anything is uncertain about disposal, consult the product label or local authority guidance before you act.
Can a donation pickup service reject items at the door?
Yes. Acceptance depends on the organization, local capacity, safety, condition, and the pickup crew’s rules. Confirm the current list and disclose large, damaged, or unusual items before the appointment.
Sources and fact-checking
This guide provides practical editorial guidance. Requirements and safe choices can depend on the product, lease, local rules, and individual situation.
- U.S. Environmental Protection Agency — Household Hazardous Waste — EPA notes that products such as paints, cleaners, oils, batteries, and pesticides can need special disposal care, and advises following labels and local collection guidance.
- IRS — Charitable Contribution Deductions — IRS explains qualification and recordkeeping requirements for charitable contribution deductions.
- IRS — Tax Exempt Organization Search — The IRS search tool helps verify an organization’s tax-exempt status and filings.
Fact-checked against the linked official resources on November 1, 2026.