Apartment Move-Out Cleaning Checklist: What to Clean Before You Hand Back the Keys
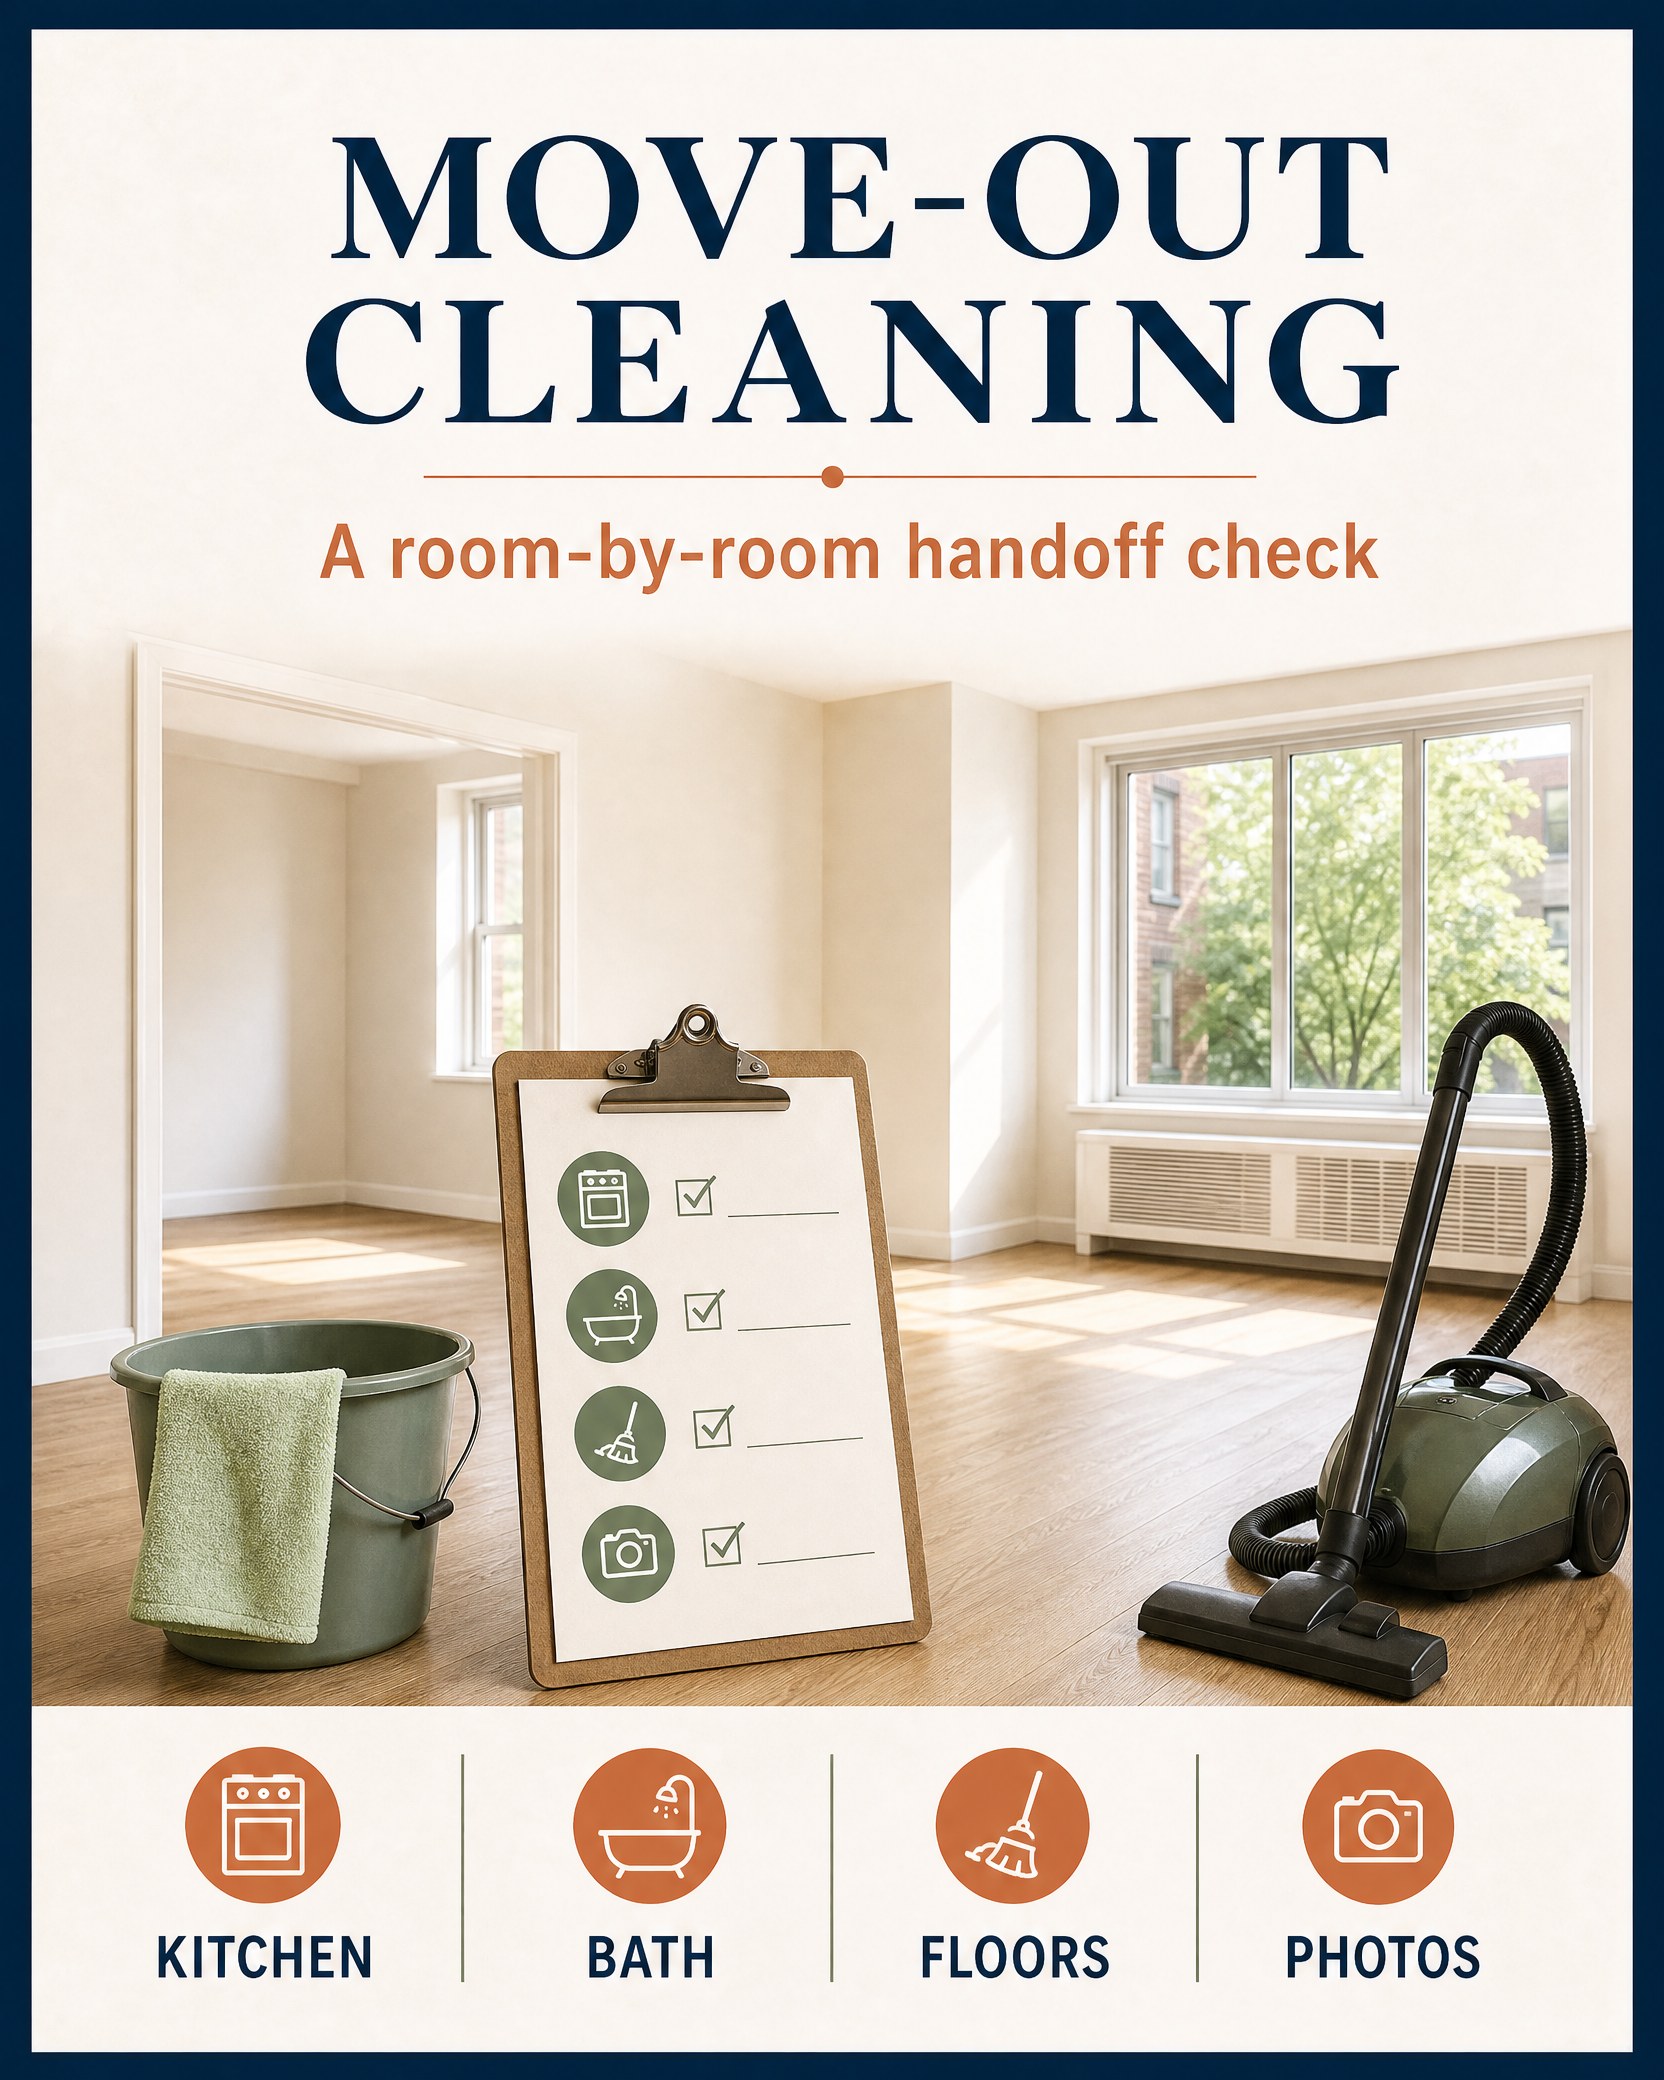
Leaving an apartment can feel overwhelming, especially in a small space where every mark shows. This article gives a practical, room-by-room move-out cleaning plan you can follow the week you leave, plus a simple photo-record routine to document condition as you go.
Use the checklist below for a thorough top-to-bottom walk-through, prioritize high-impact fixes if time is tight, and know what to photograph. The goal is a clean, defensible handoff: visible dirt and damage addressed, and a clear visual record for you.
How to use this checklist
Start with a full walk-through from one corner of the apartment to the other so you don’t miss spots. Tackle rooms in a logical order—kitchen, bathrooms, living/bedroom, then floors and windows—so dirty tasks don’t re-soil freshly cleaned areas. If you only have a few hours, focus on grease, mold, and obvious stains that a landlord or cleaner will notice first.
Room-by-room walk-through (top to bottom)
Work from ceiling to floor in each room: dust tops of fixtures, clean walls and surfaces, then finish with floors. For each room, check lights and switches, remove nails/screws if required by your lease, and empty all cupboards and closets. As you finish each room, take a set of photos following the photo-record advice below.
Quick spot-checks
Before you leave a room, do a quick pass: look for scuffs at eye level, check baseboards, test faucets for drips, and sniff for lingering odors. These small checks find the issues that often cause deposit deductions.
Kitchen checklist
- Clean inside and outside of appliances you used (oven, fridge, microwave) — remove racks and wipe them separately.
- Degrease cabinet exteriors and backsplashes; wipe countertops and sink drains.
- Empty and clean trash/recycling bins; check under the fridge for crumbs.
Bathroom checklist
- Scrub shower/tub tiles, clean grout lines where mildew forms, and descale fixtures.
- Wipe mirrors, sanitize the toilet base and seat area, and clear cabinet shelves.
- Replace or clean shower curtains and mats; remove hair from drains and traps.
Living areas and bedroom
- Dust ceiling fans and light fixtures; wipe window sills and blinds.
- Spot-clean walls and doors for fingerprints and scuffs; touch up paint only if you have spare and your lease permits.
- Vacuum upholstery and mattresses; remove nails and fill small holes if that’s part of your plan.
Floors, walls, and windows
- Sweep and mop hard floors; shampoo or steam-clean carpets if needed or expected.
- Wipe baseboards and check for water stains at the edges of sinks or tubs.
- Clean interior windows and tracks; open windows briefly to air out the space if weather allows.
Photo-record and documentation table
Take photos as you complete each area. Use natural light, steady framing, and include wide shots plus close-ups of any problem spots.
At-a-glance reference
| Area | Shots to take | Notes to record |
|---|---|---|
| Kitchen | Wide shot, inside fridge, oven interior, under-sink area | List missing hardware, broken drawers, or stained surfaces |
| Bathroom | Wide shot, shower tile close-up, sink/vanity area, toilet base | Record mold/mildew spots and grout discoloration |
| Living/Bedroom | Corner-to-corner wide shots, carpet stains, wall scuffs | Note furniture marks, burn spots, or persistent odors |
| Windows & Floors | Window tracks, floor transitions, baseboards | Document scratches, gaps, or water damage |
Cleaning supplies to keep on hand
- All-purpose cleaner, degreaser, glass cleaner, disinfectant wipes
- Soft sponges, scrub brush, microfiber cloths, bucket and mop
- Small patch kit (if allowed), trash bags, and a handheld vacuum or broom
Realistic trade-offs and timing
If you’re short on time, prioritize bathrooms and kitchen grease first—those are the areas landlords often notice. A full deep clean will take longer but can reduce the chance of deductions; a targeted clean saves time but may miss issues. Balance how much effort you invest against the potential cost of hiring a professional for a final touch-up.
Related guide: How to Deep Clean a Small Apartment: A Room-by-Room Checklist
Related guide: Apartment Moving Checklist: A Four-Week Plan for a Less Stressful Move
Clear next step
When you’ve completed the checklist and photos, compile the images and a short room-by-room note of what you cleaned. Use that record during any final walkthrough or handoff so you can point out repairs or cleared areas. If time allows, schedule a short walkthrough appointment or leave the documentation ready to share—this simplifies the end-of-lease process and gives you a reference if questions arise later.
FAQ
What should I photograph during a move-out?
Photograph each room from multiple angles: a wide shot for context and close-ups of any stains, damage, or recent repairs. Include appliance interiors, window tracks, and the area beneath sinks. Date-stamp or store photos in a folder labeled with the move-out date.
How do I prioritize cleaning when time is limited?
Focus first on bathrooms and the kitchen, then address obvious wall scuffs and floor stains. Small tasks like emptying cabinets and taking out trash are quick wins that improve the overall impression.
Is professional cleaning always necessary?
Not always. If the apartment is generally clean and you can address high-impact areas, you may not need professionals. Consider a paid clean only if significant carpet cleaning, mold remediation, or heavy-duty grease removal is required and you don’t have the time or tools.
Sources and fact-checking
This article provides practical editorial guidance. Safety, cleaning, disposal, rental, and product decisions can depend on the item, its instructions, and local requirements.
- U.S. Environmental Protection Agency — Household Hazardous Waste — For cleaners, paint, batteries, oils, pesticides, or other potentially hazardous leftovers, follow the product label and local collection guidance.
- U.S. Centers for Disease Control and Prevention — Cleaning and Disinfecting — For everyday home cleaning, use product-label directions; disinfecting may be appropriate when illness circumstances call for it.
Fact-checked against the linked official resources on August 27, 2026.